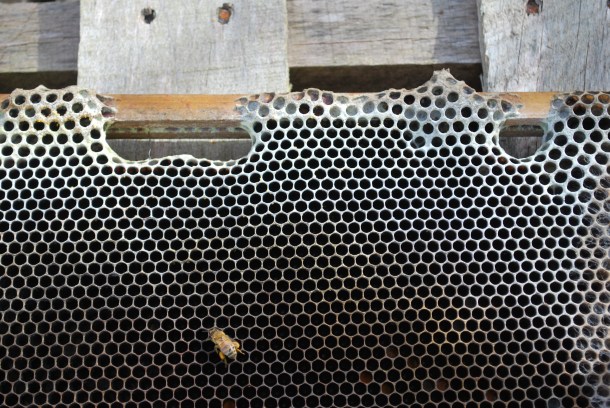
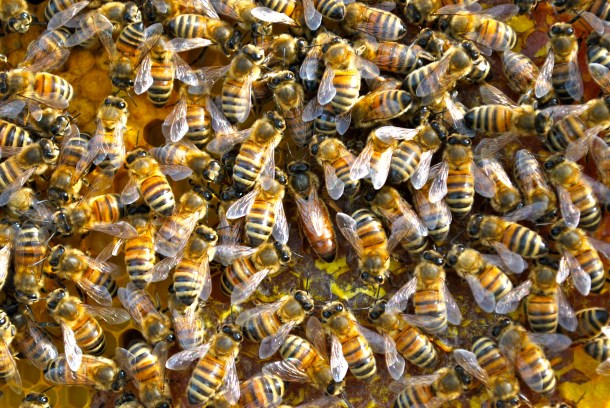
I opened up my hives today and was chagrined to see that Hive 1 had some bees with wing and abdomen abnormalities due to varroa mite infestation. My other two hives also have mites but seem to be chugging along for now. I finally saw the queen of Hive 1 as well, which was excellent, but it was obvious that something needed to be done.
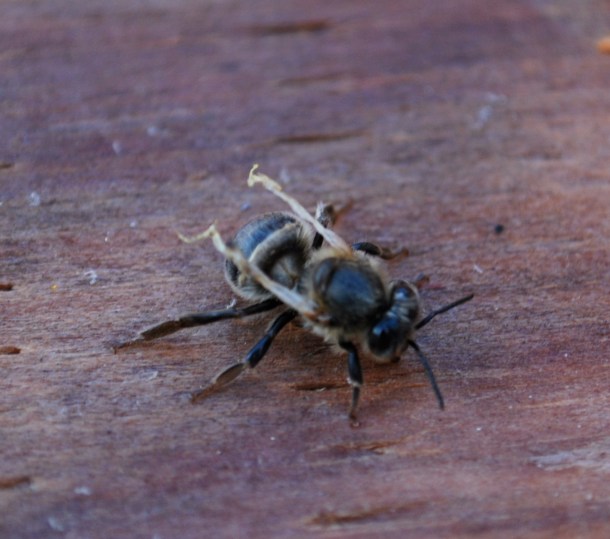
Deformed bee
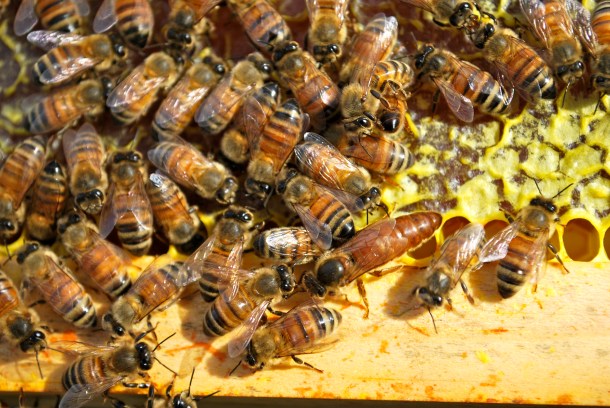
Hive 1 queen
I’ve done scads of research online on the efficacy of the powdered sugar treatment. Some people say it works, some people say it’s a waste of time. The theory is that the sugar is just the right size to get under the mites’ feet and unstick them from the bees as they groom it off each other. It won’t do anything for the mites inside the cells, but you can treat multiple times to get them once they emerge. For instance, once a week for three weeks. I decided I had nothing to lose, so I installed my new DIY screened bottom board and got out a cup of icing sugar.

At least this treatment is easy to apply! I dumped the cup of sugar on the top brood box and brushed it in between all the frames. I soon had a bunch of very white, very pissed off bees.

Then I closed it up and waited. But not for long… Less than an hour later I had to check and see the results, if any. I pulled out the tray and my jaw absolutely dropped.

It was totally loaded with mites! I counted probably around 600 mites and after I waited another couple of hours there were easily 1000 mites on the tray, struggling in the sugar. That is a LOT of phoretic varroa.
I am SO glad that I decided to do this treatment. I immediately got to work making two more screened bottom boards for my other hives and they will be getting treated as soon as possible. I plan to give them all a weekly treatment for at least three weeks or until the mite drop is significantly lowered. I’m so glad that I didn’t have to resort to any harsh chemicals and I’m incredibly impressed with how this simple trick has worked.