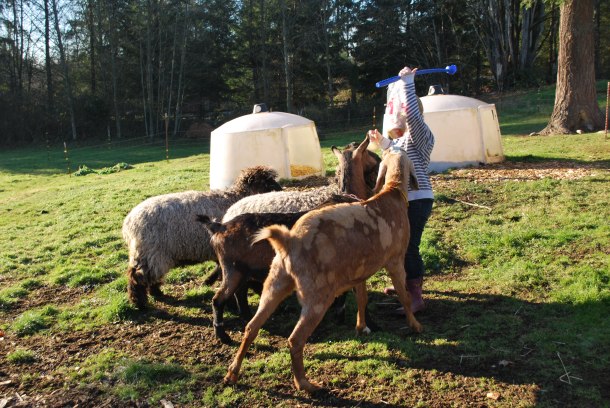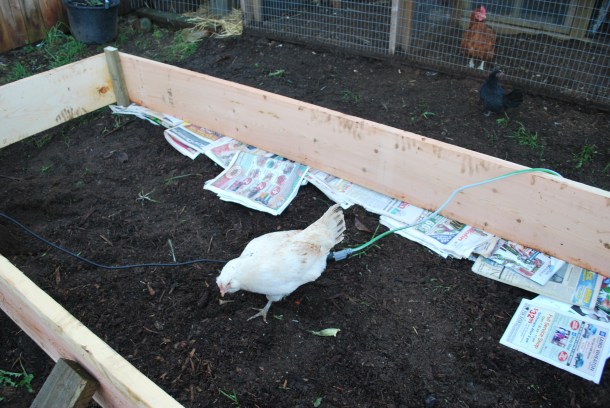
“I am helping”
I’ve been here three years now, and come a long way in the gardening department considering there was nothing when I started.
This garden plot was dug the very first spring, and it comprised many hours of backbreaking work, only to succumb to an influx of weeds that were impossible to control. The soil, which looked great at first, turned into a hard-packed hydrophobic carapace, and my harvests were pitiful.
The next year I smartened up and used a thick layer of woodchip mulch which resisted most of the weeds and protected the soil from drying out. However, there is still a pronounced slope to the yard here which causes constant erosion and is vulnerable to chicken, duck and dog attacks. I don’t allow much free ranging of birds precisely because of this issue. A single hen can cause a lot of damage in a very short time.
The whole area needed cleaning and tidying up and I thought the best way to do this would be to convert it to raised beds. I had the best garden of my life when I was using a raised bed in Vancouver. They look nice and neat, are higher up so easier to tend, they are level, you can fill them with whatever you want, and it keeps the lawn from creeping into your plots. It also creates a sturdy foundation for all kinds of cool projects, like trellises, hoop houses, chicken tillers and quail pens.
My first raised bed project after completion of the bed itself is to build a large segmented quail pen with a living roof to sit partially on top. There will be a metal mesh insert buried about 6″ under the earth and screwed into the sides of the bed to prevent rodents from getting inside. This will give the quail more space, an earth floor (which I know will make them lose their tiny minds with happiness) and access to vegetation, rain and added sunlight. (Rain? My experience at the raptor centre has taught me that sometimes birds just like to sit in the rain…) The earth floors will also keep their feet and feathers healthy and I will have space to add more natural hiding areas. I’m hoping this will help cut down on bullying. The pen will be segmented down the middle to make two separate living areas so I can keep certain individuals apart.
Here’s what the area looked like this morning:
And here’s what I accomplished today:

First the little apple tree had to come out. It had barely any root ball, just one giant long taproot that ran horizontally about 20 feet. Should be fun replanting it later…
I was able to get the first bed aligned, level and square. The beds are 12 feet by 4 feet and the top row of boards are 2″ by 12″ fir. The ends are spruce because they were out of fir. We’ll see how that turns out.
The next step will be to add an 8″ by 12′ board on the bottom of the low side to bring it to the ground. This is an easy method for building raised beds on a slope. The side pieces will be long triangles that will give the appearance that the bed is half buried.
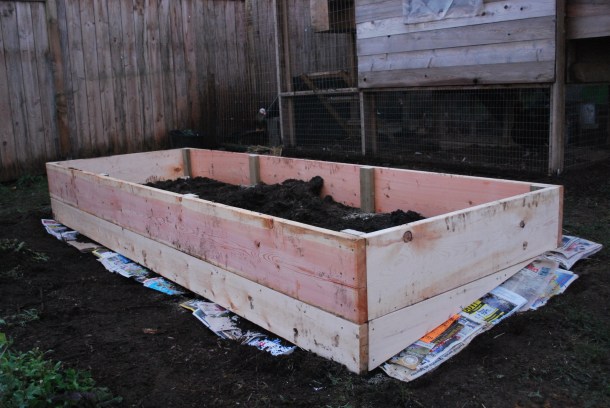
You can see that I’m also placing a thick layer of newspapers under the edges of the bed. This is just to keep weeds down in these areas. I will not cover the insides of the beds, but I will put down a layer over the paths and cover the paper either with straw or wood chips. I’ve been saving paper for awhile now and I’m glad to finally convert it to worm food.

I’m planning three beds in total, with 2 or 3 foot wide pathways between them. The supplies for this project (wood and 3 inch deck screws) cost me just about $250 CAD.
Of course, now that I look at this first bed, it seems it will be almost impossible to fill. It will be almost 20 inches high on the downhill side! Luckily, it’s time to dig out the chicken pen floor and replace it again with woodchips. It’s taken a year or so, but the chickens and worms have transformed the chunks of wood into beautiful, rich black earth. It’s gorgeous stuff and I know it’s going to grow me some amazing produce.
 Technically it hasn’t taken me two full days to get this far along, I’ve only worked a total of about 6 hours and that includes driving to pick up materials. I need more daylight hours!
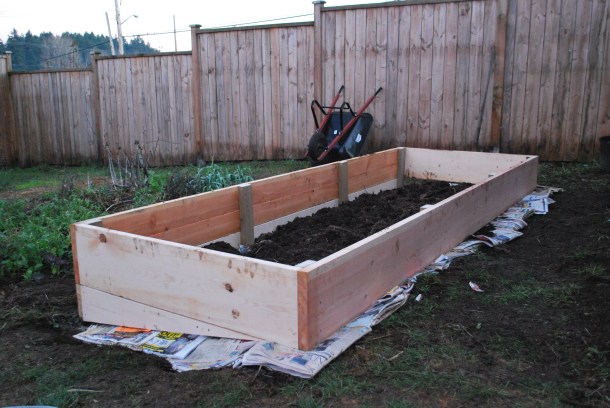
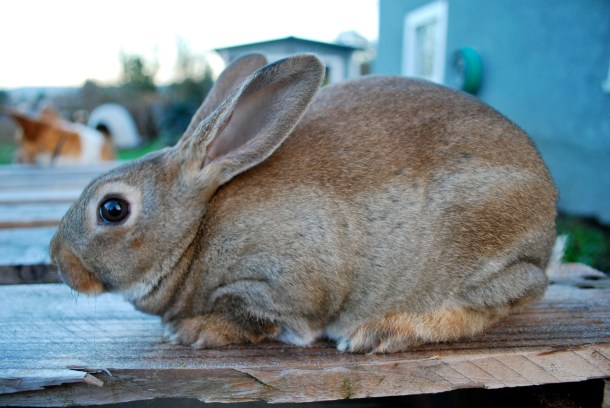
 I love this little batch of buns. Half are golden agouti colored, and half of them are brokens. They have a lot more white in their coats than the pure Rex litters and I think that makes them extra cute looking. Wouldn’t you agree?