Two Ingredient Natural Bug Spray that Really Works

DSC_0006.JPG

Biting bugs are the worst. But I would argue that the majority of commercially available bug sprays and lotions are even more horrible.

I work outdoors a lot and mosquito season is just beginning. I always seem to forget how infuriating it is to try and get things done outdoors when you’re constantly swatting at these whining pests. Not to mention they can carry dangerous diseases.

However, the thought of smearing myself with pesticide cream or who knows what else gives me the creeps. I had to figure out a better solution, luckily the answer is easy, effective, cheap and natural.

Two ingredients: witch hazel and lemon eucalyptus essential oil.

I usually put a few tablespoons of witch hazel into a small glass jar and then add about 12 – 24 drops of essential oil. You can also pour it into a small spray bottle. Shake well before each use and then just rub into any exposed areas, including your face. It has a light, lemony smell and leaves no residue. In fact in the off season I will sometimes use this concoction as a refreshing toner! Mosquitoes will give you a wide berth when sporting this stuff.

Cheaper than commercial sprays, lasts forever and the witch hazel helps extend the oil and also thin it out to help avoid skin irritation for those that are sensitive. Win-win!

Free Rabbit Food (and People Food): Oxeye Daisy

DSC_0001.JPG

Leucanthemum vulgare is an iconic perennial flowering herb that is native to Europe but can be found all over the world. It’s also called the dog daisy, common daisy or moon daisy and can be seen in fields, woodlands and along roadsides. It has serrated to dentated dark green leaves and spreads via rhizomes.

I have a large patch of this in my rabbit forage field and the bunnies always go for these juicy stalks first when they get their daily bundle of wild grasses. The dead nettle has died down for the most part and so the oxeye daisy makes for much of their non-grassy forage this time of year, now that it is getting hotter.

DSC_0005.jpg

The young leaves of this herb can also be used in salads, and the dried leaves have a bitter and tingling flavor similar to that of valerian. The immature flower buds can be marinated and used like capers, which is what I’m preparing today. They have a unique, delicate sweet and spicy flavor that complements many dishes such as smoked fish, salads, pates and sauces.

DSC_0006.JPG

You must select tightly closed flower buds to ensure the best flavor and that no bugs have made their way in. Then take 1/2 cup apple cider or wine vinegar and 1/2 cup water mixed with 1 tablespoon sea salt and use to cover your flower buds in a glass jar or ceramic crock. Refrigerate and they will be ready to use after three days but will keep in the fridge much longer than that.

DSC_0001.JPG
DSC_0001.JPG

Wild Edibles: Dame’s Rocket

DSC_0023.JPG

These flashy little plants showed up in my bee yard completely out of nowhere. I’m sure nobody planted them but I have seen them growing in my neighbor’s yard a couple of houses down. A quick search shows it to be an invasive plant, but it’s also edible and has medicinal qualities.

DSC_0022.JPGDSC_0021.JPG

The bitter, pungent leaves, which are high in vitamin C are great in salads as the plant is closely related to arugula. The flowers are aromatic, but only in the evenings. It is purported to induce sweating, promote urination and loosen a cough. When in flower, it is said to be a gland stimulant and aphrodisiac.  It’s also a great nectar source!

Wild Edibles: Fluted Black Elfin Saddle

DSC_0001.JPG

I took the dog on a nice long hike today, and we came across some edible mushrooms I hadn’t seen before. Helvella lacunosa or fluted black elfin saddle.

DSC_0004.JPG

Here in the Pacific Northwest we have a lot of mushrooms this time of year, but the edible ones near trail edges tend to get scooped up rather quickly. I think these ones had been left alone because they are a rather unusual-looking species.

DSC_0003.JPG

The only other species that looks close is the hooded false morel, which is poisonous, but does not have the characteristic fluting in the stem. Although the fluted black elfin saddle is considered edible, they must be either cooked or dried first in order to dissipate the monomethylhydrazine they contain, which is a toxic substance.

DSC_0007.JPG

I shall enjoy them with quail breasts and wild greens as my dinner tonight!

First Raised Bed Populated

DSC_0007

Progress on the raised bed garden has been slow and steady. I was able to transplant my leeks, some arugula, my strawberries, some mustard, yellow and red onions, shallots, some chamomile, beets, celery, calendula sprouts and a couple of stray garlics and bok choys out of the ground and into the bed. This now leaves me lots of room to erect raised bed #2.

The first bed has also received some amendments, I added 1kg of crushed eggshells and have been moving the partially decomposed woodchip mulch layer from the former ground-level bed on as a top dressing. The initial fill of soil has settled around three inches lower and it would be a shame to bury all that rich worm-filled media at the bottom of bed number 2.

Everything you see planted in this bed are edibles that overwintered in the ground and are now starting to take off with new growth. I was surprised to see the celery survive and I look forward to lots of it this year, I use it often when making stocks or mirepoix for soups and sauces. The arugula self-seeded as always and I’ve already been eating it for weeks. The leeks are really filling out and I’m looking forward to making them into soup too. I’ll probably also let a few go to seed so I can replant them next year. They are expensive to buy in the grocery store and keep in the ground year-round.

My strawberries never fared well on the ground for some reason, and I kept losing plants. I maybe got 6 strawberries out of them last year. They were the first transplants into the new bed and despite my concern that the soil would be too “hot” from being taken directly out of the chicken pen, it seems that they are very happy now and have been putting out fresh new growth. Please let’s have a real strawberry harvest this year!

An unexpected benefit of the raised bed is more light can reach the plants. I don’t know why I didn’t realize that before, but I’ll take all the extra light I can get. This bed is right next to the coop, so it’s a bit shadier than the other two will be.

I also leveled out the pathway between the beds and lined it with old paper feed bags. My hope is to eventually cover this with a nice thick layer of coarse wood chips to provide good drainage and weed control.  If I can’t get a free wood chip delivery I’ll make do with straw. In the meantime, the feed bags can start to decompose. I have about a million of them taking up space and it’s great to finally be able to use them.

DSC_0009

Some of the damp bags were even beginning to colonize with wispy white strands of mycelium. I guess if I don’t use them all up in landscaping projects, I can set up a stack of them to grow mushrooms!

DSC_0008

Controlling Rats in the Chicken Coop with a Weasel Box

DSC_0007

Eventually, unless your chicken pen/coop is built like a fortress, you will have rats. Especially in an urban setting like mine, where rats already exist due to human presence, the lure of eggs, chicken feed and sometimes even young chicks is too much for them to resist. A desperate rat will even munch on feathers and chicken poop.

The best rat control of course is always a good cat or dog, but some rats are too tough for the average farm cat or too wily for the average dog. My cat Parsley is usually the RCO around here (Rat Control Officer), but she will often come home very beat up from a rat fight, with scratches on her little face, neck and ears from the battle.

My dog will kill a rat if she can catch one, but she comes inside at night and that’s when they’re most active. Between them we’ve kept our minor rat issue under control until now, but now we have a special rat who refuses to be caught.

This extra intelligent rodent has decided to dig a maze of burrows underneath my chicken pen. It knows that the cat and dog can’t get at it if it comes out only inside the chicken pen at night, which is fully enclosed but does not have a wire mesh floor. It stays cozy and snug in its burrow by day, and raids the chicken and duck feed at night. The area around the pen looks like swiss cheese, and I never know when the ground beneath my boot will sink into a rat hole. Parsley has come home more than once with torn ears from battling this menace.

Now this particular rat has also developed the audacity to begin stealing eggs. Even though there is always an abundance of feed and grain inside the coop, this rat has cultivated more refined tastes. I have a basket hanging on the outside of my coop that I use to collect quail eggs. I usually bring them inside but some nights I forget. Just the other day, I noticed two quail egg shells laying on the ground that looked peculiarly like they had been nibbled open. He had climbed up, stolen two eggs out of the basket and eaten them at his leisure. Time to get serious!

The issue with catching rats inside a coop full of birds or in a yard with a lot of small pets around, is that you don’t want one of your cats or chickens getting injured by mistake. Rat traps are serious business and they could easily crush a delicate paw or feathered neck. I won’t even get into using poisons, as that can be even more dangerous for pets or wildlife who may later consume a poisoned mouse or rat. No, I want to use a good old fashioned Victor rat trap, but it needs to be used safely.

After doing a little research I came across the idea of the weasel box. A weasel box is a little wooden box about the size of a large birdhouse, that is used with bait and a trap inside to catch weasels. It has a hole at one end for the weasel to enter, and a smaller hole at the back covered with wire mesh, so air can flow through the trap, wafting the scent of the bait out and also reassuring the weasel that there is an escape route.


Now I’m lucky enough to not to have weasels where I am, but one day I plan to get a larger and more rural piece of property where they will no doubt be an issue. Until then, this seemed like a perfect solution for my rat problem. I built it in one evening, purchased my rat trap and set it up near the base of the coop, baited with two fresh quail eggs.

DSC_0003

I made mine with scraps left over from my fence construction, but you can easily build one with a single 1″ by 6″ wide , 6 foot long cedar fence board. Simply cut 3, 12″ pieces for the bottom and sides, one 17″ piece for the lid, and two 6.25″ pieces for the front and back. (Mine needed to be 7″ as my lumber was actually a full inch thick and 6″ wide instead of 3/4″ by 5.5″ like most dimensional lumber.)

The front piece should have a 2″ hole drilled slightly above center, and the back should have a 1.5″ hole drilled in the center, and covered with a square of 1/4″ wire mesh. I attached mine with a heavy duty staple gun.

It’s the perfect size to fit one of the large Victor rat traps. Put your bait next the mesh end of the box, and set your trap so the yellow or copper bait pad is next to it. This is so the rat doesn’t jump over the pad when entering the box, and also to keep the dangerous part of the trap as far away as possible from curious cat paws. If you have the kind of cats who like to stick their hands into hidey holes, you may have to attach an extender to the front entrance hole so they can’t injure themselves.


The rear of the lid should be attached with hinges, and the front can be fastened with a hook and loop type closure. I don’t have these parts ready yet, so for now my lid is held closed with a bungee cord. The trap is set up tonight for the first time, and hopefully I’ll be able to report its success very soon.

DSC_0005

DIY Rabbit Nesting Boxes – Trial and Error

DSC_0027

Esther with a moustache of the new bedding we’re trying. I think she approves

When I started researching meat rabbits, way before I ever had any, I wondered what I would use for nesting boxes. The traditional sheet metal boxes that I see used most often are hard to find where I live and very expensive when located. There’s one on a shelf at the local feed store that I think is around $40 and looks from the thick coat of dust on it like it’s been sitting unsold for many years. I wonder why…

I’ve also seen many wooden nesting boxes used. To me, that seems like a lot of work for a heavy nesting box that will absorb urine and is difficult to disinfect. I know the importance of disinfecting nesting boxes after each use as I had to deal with a couple of cases of mastitis last year. My rabbit recovered both times but it’s not something I’d like to repeat.

A nice solution would be if there was something cheap and plastic I could buy at a hardware store that would fit the bill, sort of like a squat planter box maybe. Something like that may exist, but I haven’t found it yet. I have wondered if a plastic dishpan might work, but I have yet to try this out.

So my solution was to follow guidelines in the Storey’s Guide to Raising Rabbits and build wire mesh nestboxes. I had already built all my rabbit cages, so I already had the mesh and tools. Despite the popularity of the book, I don’t think I’ve ever seen anyone else ever use a box like this, for whatever reason. I know once I posted a Youtube video which showed the box in use, a local rabbit breeder I know commented to me that she noticed I was using wire boxes and to not be surprised if I lost most of my kits. That scared me a bit. I asked her why, and she said the kits would either get too cold or the mother would flip the lightweight nest over. Well, I wasn’t going to let either of those things happen.

At first I would cut out a fresh cardboard liner for each new litter, then fill the box with woodchips and straw. The cardboard had to be in one single piece or the does would pull out each side and toss them. Well, turns out you actually go through a lot of cardboard that way and measuring out and cutting the liners is tedious. I hated it. I also need my used cardboard to make packaging for my other business and there’s no way I’m going to go and buy new cardboard. Do you know how expensive it is?

I experimented once without the liner and all the woodchips fell out through the mesh in just a few days. Thankfully the kits survived but I needed to add new bedding each day and they were obviously struggling to stay warm in the depleted nest.

Now I think I’ve found a better solution. I don’t know why I didn’t think of it before, but this time I shoved a whole bunch of shredded newspapers into the bottom of the nests and topped them off with the straw. The problem with straw is that my rabbits like to eat it. Generally though enough is left in the nest for it to work. They won’t be eating the paper I bet. So far, it looks like the shreds make a nice soft and yet solid base to the nest, and it doesn’t seem to want to fall out the holes. The rabbits seem happy with it and it’s absorbent, practically free and should insulate well. I keep the does from moving or flipping over their nests by attaching the back to the cage wall with a dog leash clip.

These wire mesh nests are nice and light when removing them to inspect kits, they can be very easily sanitized in a container with some bleach and water, they were cheap and easy to make, and they’ll last a very long time. I worried a bit about the sharp front corners at first, but I smoothed everything off well with a grinder when I made them and the rabbits seem to have no problems. I’ve seen enough wild rabbits deep in bramble bushes to know that they know how to avoid being impaled on sharp objects.

DSC_0005

Very pregnant Creme d’Argent doe and nest box

My nestboxes are made of 1/2 inch by 1 inch rabbit cage flooring wire, and measure 18 inches long by 10 inches wide by 8 inches tall with a 5 inch tall front lip. They are held together with hog rings or c-clips.


How I save over 90% on Topical Flea Control for my Multiple Cat Household

tumblr_nffaggUBUK1sm7czpo6_1280

Jeffie in the garden, one of the rescued kittens

I don’t like using topical flea meds, but when you have two dogs and ten cats sometimes diatomaceous earth just isn’t enough. When I took in an abandoned cat and her litter a few months ago, they came with fleas. Despite my best efforts dusting with DE, washing bedding and vacuuming; after a couple months everyone had fleas.

Since I was rehoming Mama and most of the kittens once they were ready, I had to make sure they didn’t bring an infestation to their new homes. The only problem: A six dose package of Advantage for cats under nine pounds from my local vet costs $82.94 plus tax. This works out to about $14.50 per cat. A single dose works for about four weeks if you’re lucky. So, for ten cats, I was looking at $145 a month for flea control. NO WAY.

I decided to do a little bit of research. It turns out that the Advantage cat and dog formulation is the exact same thing. The active ingredient in both is imidacloprid 9.1%.

In other words, buy the package for small cats and get a total of 2.4ml of medication, good for 6 cat treatments. Buy the package for extra large dogs and get ten times that amount, a whopping 24ml of the exact same medication, enough for 60 small cat treatments!

The kicker is that the package for extra large dogs costs only a little bit more than the one for cats. At my vet, it’s about $100, dropping our cost per cat dose down to $1.60. That’s much better!

However, you really don’t have to pay $100 either. Since I’m in Canada, I discovered I can take “advantage” of the low price of Advantage in Australia by ordering online. (This particular product is not available to the USA). A bit more research later and I had found by recommendation what looked like a nice little online shop: Pets Megastore. A 6 pack of Advantage for extra large dogs there is $55.91 CAD and shipping is about $6.  I placed my order and they shipped that same day. My order arrived in good shape with no duty owing about two weeks later.

DSC_0013So now I have managed to drop the price per small cat dose down to $1.03. That’s a savings of almost 93 percent!

All you need to do is get a small glass vial and a syringe with no needle designed to squirt medicine into your cat’s mouth. (Note, you WILL NOT be squirting Advantage into anyone’s mouth! It is applied externally between the shoulder blades directly onto the fur.) Simply empty your extra large dog dose into your glass vial, and use the syringe to get the correct dosage out for your cat (or smaller dog). Here is a handy weight to dosage chart that applies to both cats and dogs:

0-10 lbs = 0.4ml
11-20 lbs = 0.8ml
21-30 lbs = 1.2ml
31-40 lbs = 1.6ml
41-50 lbs = 2.0ml
51-60 lbs = 2.4ml
61-70 lbs = 2.8ml
71-80 lbs = 3.2ml
81-90 lbs = 3.6ml
91-100 lbs = 4.0ml

An added benefit here is that you can tailor your dosages more precisely to your pet’s actual weight. This can save you even more money and is healthier for your pet. Keep your unused medicine well-marked and tightly sealed in a safe place that is also cool, dark and dry. Shake it up well before using again as the active ingredients may settle. It won’t lose potency until the expiration date, so mark this down as well. Be careful not to get this medicine on your skin, or wear latex gloves if you’re worried. Wash your syringe out very well with soapy water before storing. Do not use on kittens or puppies under 8 weeks of age.

If you have a multi-cat household, this tip has the potential to save you a lot of money which you can then spend on your lovely, flea-free friends. Consider a home with three small cats who get treated every month. The yearly cost of buying the small cat sized vials from the vet would add up to $522. The cost of ordering the extra large dog vials online would be $37.08. Throw in the cost of the syringe and vial and let’s say $40. You’ve just saved $482. That’s enough to feed those three cats a high quality grain-free canned food (let’s say $3 per can, one can a day) for over 5 whole months.

(I’d like to add that I haven’t been paid or reimbursed by any of the companies mentioned above. Just had a good experience shopping online and wanted to share. Also note, this information applies to Advantage and Advantage II products only. Do not use the newer, K-9 Advantix or Advantage Multi for Dogs products on cats.)

Raw Feeding Kittens and Cats

Ever since I got my three sister cats as tiny, supposedly 8 week old kittens about five years ago, I have tried to feed them raw as much as I can.

Long story short, their much-loved kitty predecessor died at the young age of six from undiagnosed diabetes and acute renal failure and I strongly suspected her commercial, “high-quality” dry kibble diet. I wanted to make changes to fresher foods with my new girls, like I was doing in my own life with good results.

No, I do not spend a fortune each day feeding pre-prepared raw. I make my own!

DSC_0009I’d like to emphasize that you have to do your research with homemade raw cat food diets. They don’t have to be perfect, just as your own or your children’s diets are not perfectly balanced at every meal, but they absolutely must provide certain key elements.

I bought an electric meat grinder, found a great site online with a great recipe, and I’ve adapted it over the years to fit my cats and my budget. I’ve found that a homemade raw diet can be slightly cheaper than a good-quality, grain-free commercial canned food diet, although preparation time is a factor. I do still offer store bought canned food sometimes, and I do get lazy and give them a kibble meal sometimes, but I strive to keep cat kibbles strictly in the treat zone, where they belong. Even the most expensive “doom pellets” make excellent, low cost treats!

Well, of course I couldn’t resist starting this hard-luck litter of kittens on raw food right from the start. At this point in my life I don’t think I could bring myself to offer kibble to a small kitten. It would be like offering McDonalds to a baby.

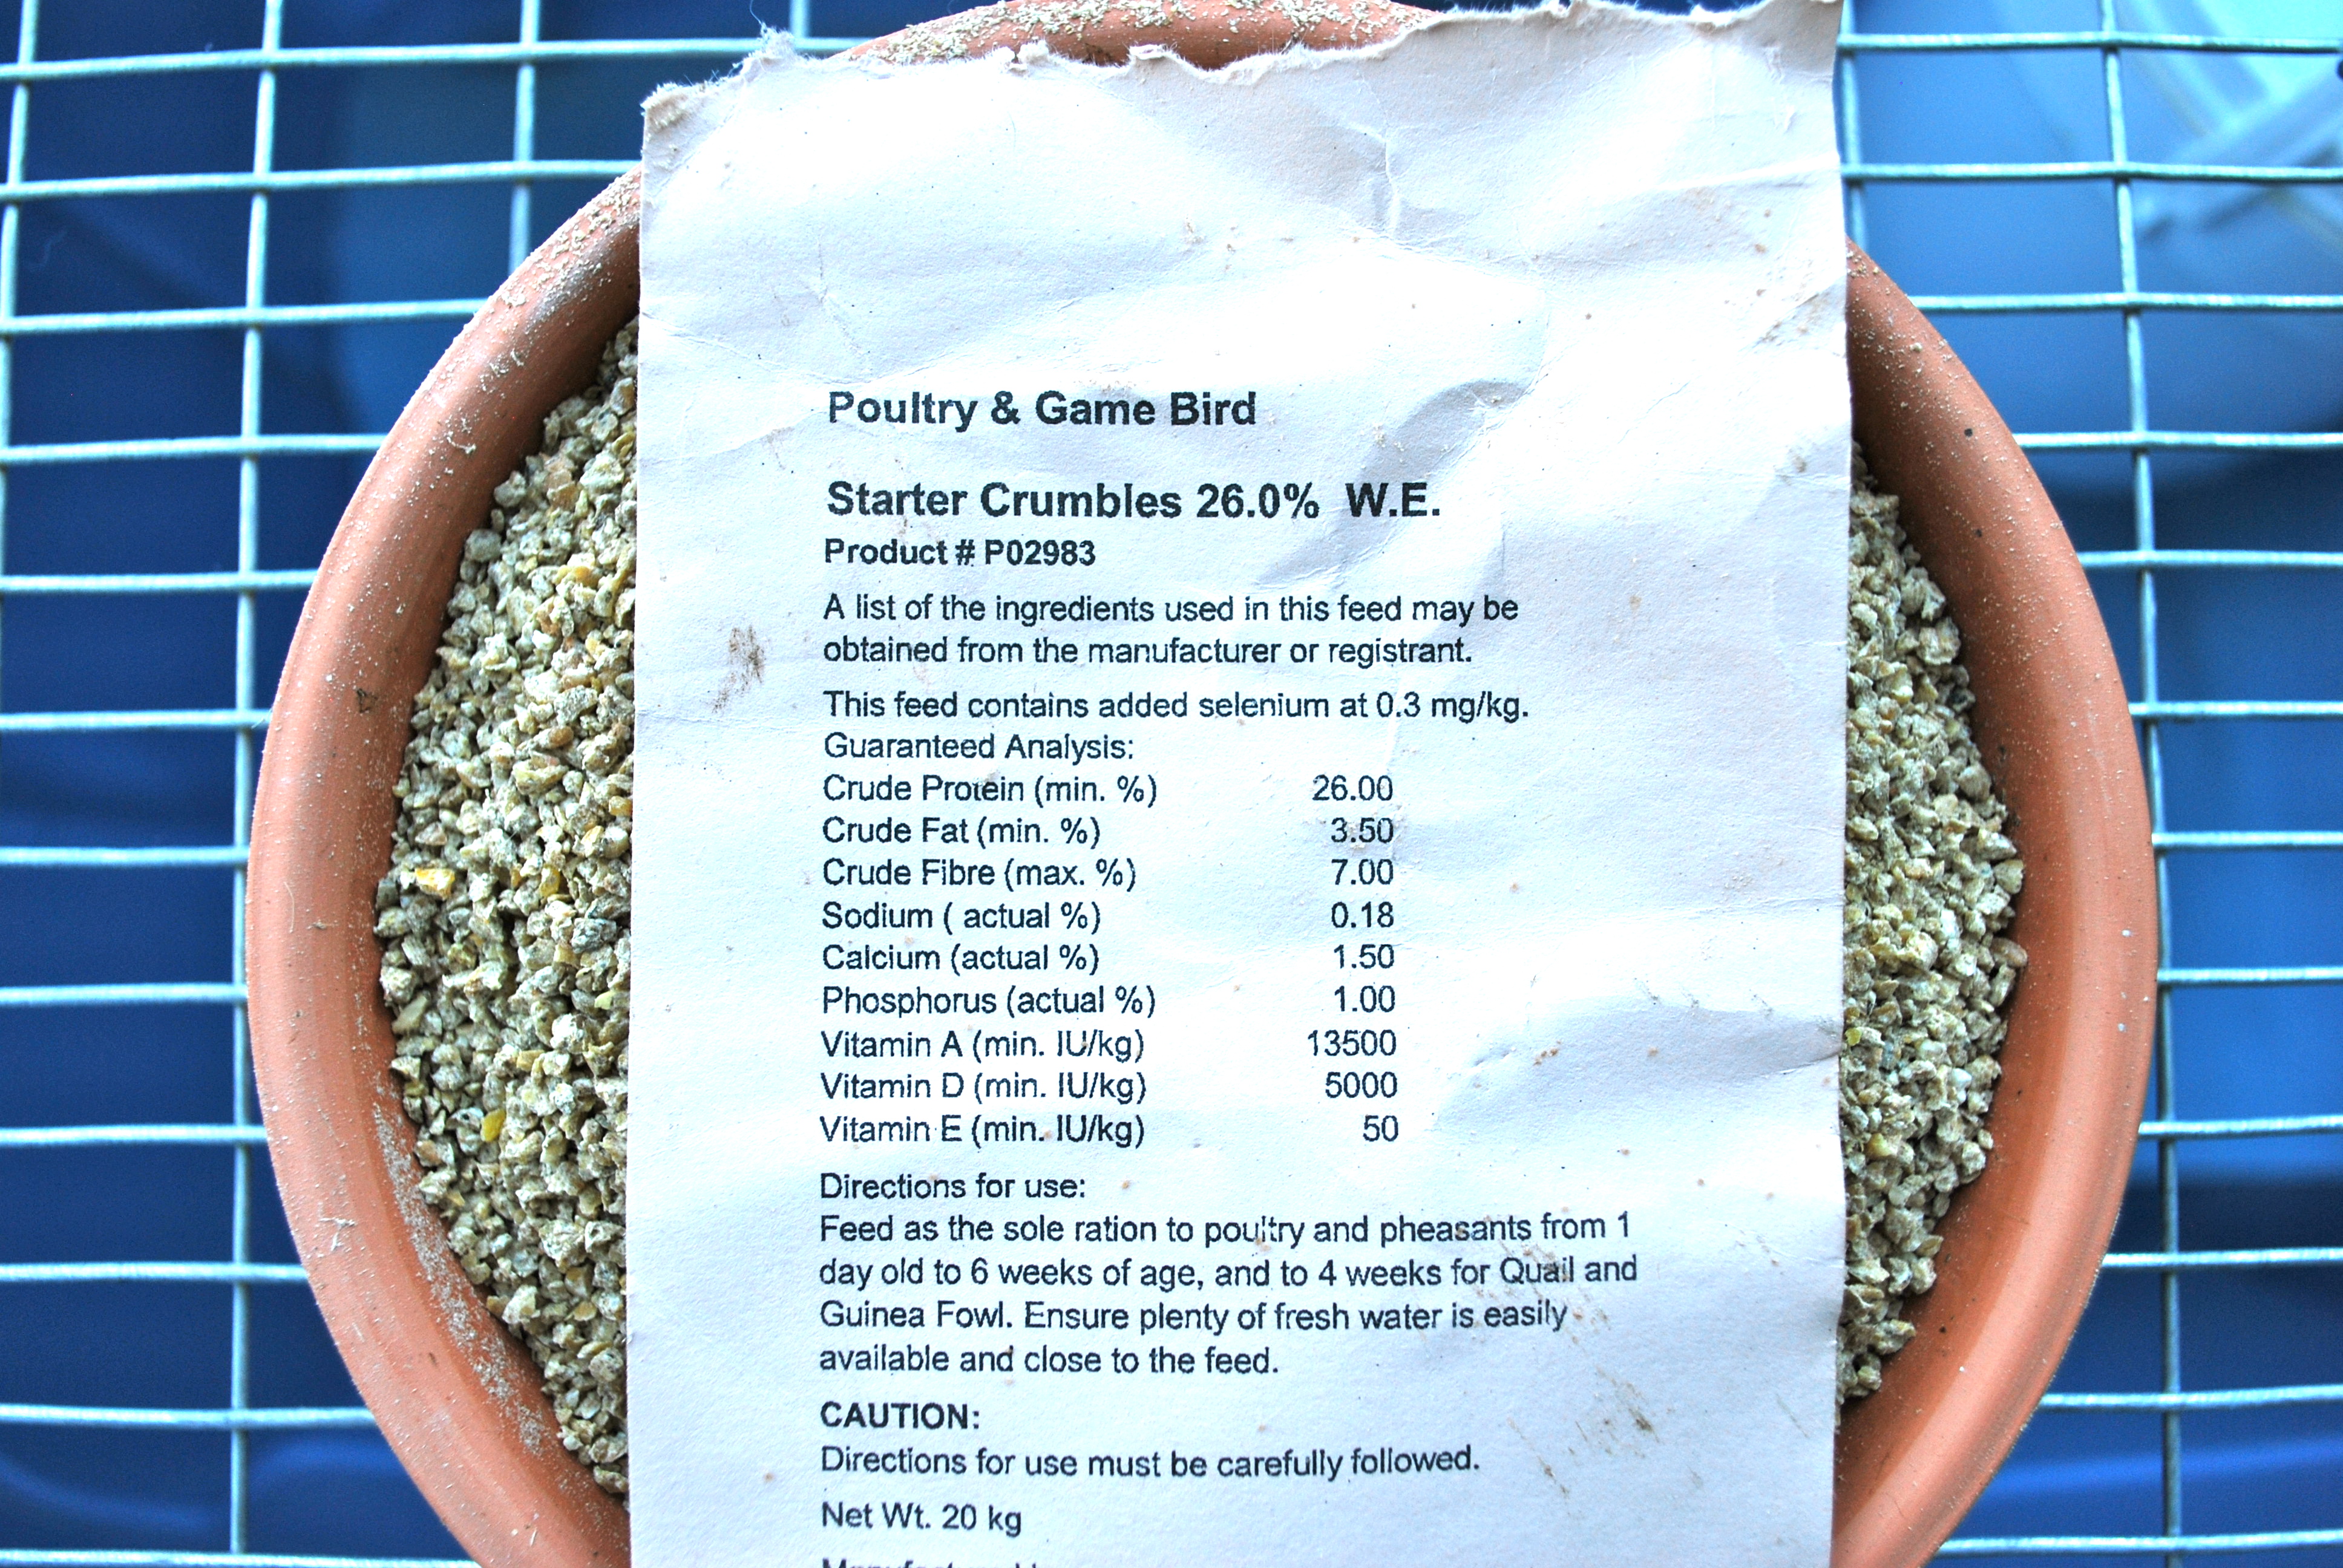
Let’s be clear here: High quality commercially produced dry cat food is made from meat and byproducts (both generally fine), vegetables and (often) grains, all cooked at very high temperatures and coated with fat to make them palatable. Cooked food may taste good but it isn’t a natural primary diet for a cat.

Think about how convenient dry foods are. They require no refrigeration, no preparation. It’s the cat equivalent of a meal replacement bar. How would you feel about eating a big bowl of the same room-temperature, dry, possibly rancid, super-processed nuggets every day? These are completely dead foods that include significant proportions of things like vegetables and grains that cats cannot digest. They might as well be adding sawdust. Some probably do… Cellulose, right?

Cats are true carnivores and only need to eat meat. In the wild they catch and eat small animals, a diet very high in moisture. Cats evolved in the desert, and naturally have a very low thirst drive since they are accustomed to getting most of their moisture from their food. A healthy cat on a healthy diet never drinks much water at all.

Ok so, I’ve had these kittens since they were three days old. I was a little nervous about offering them my humble homemade cat food. Would they hate it? I had already been feeding the mother cat raw from nearly the start. She arrived with a bad case of diarrhea and did not produce a solid stool until I did so. Luckily she was totally into it and now has well-formed, firm stools. She’s a real wild girl who knows what’s good for her.

Benefits to Raw Feeding:

-Improved overall health, energy and longevity, shiny coat
-Vastly improved tooth and gum health, more natural eating motions, less bad breath
-Improved and reduced stool formation. Small and dry crumbly stools with no odor
-Improved mental stimulation when eating, each meal is different and fun to eat
-Sufficient hydration is maintained
-Wash glass jars instead of tossing cans

I noticed a couple of the kittens sampling the mama’s raw food at about week three. They were keenly interested in it. I had been adding water to make it soupy for them, but I don’t go out of my way to serve it warm. One kitten was gumming a piece of bone-in rabbit ribs for a good ten minutes while I watched. With no teeth yet it was a futile endeavor, but I was pleased with his enthusiasm.

At some point as kittens grow you may begin to worry that perhaps you should just leave out a bowl of kibble. Let me tell you, I’ve had this feeling. What if the babies get hungry between meals? The truth is, if you care about your cats then you’ll feed them regular meals and they will never go hungry for long. Cats were not made to eat all day long. They are made to catch a meal, eat that meal, and then let the gut clean itself out until the next meal. I would never go back to the All-Day-Kitty-Buffet. And it sounds funny, but it’s actually not funny at all, because my kitty died from it. Every cat out there is “doing fine” on their kibble diet until they’re not.

At week four, four of five kittens were eating the raw food meals and enjoying them very much. Now they all love it and much prefer it to all else, especially the batches made with fresh home-grown rabbit.

I feed about 3 to 4 big meals a day, (about 1.5 cups for 5 kittens and one momma) for the first four or five weeks, then reduce to two meals a day with fresh water always available. Use your own best judgement and keep in mind that kittens need to eat more frequently than adults. The momma cat is very helpful, she lets me know very clearly if it’s been a little too long between feedings.

The new chicken, rabbit and turkey formula seems to be a big hit. It’s very satisfying to be able to use my own rabbits and eggs to feed my precious cats. I love knowing exactly where the food has come from, down to the last detail. Today many bunny spines and other bones were ground up for them.

We do not waste a single bit of our rabbits. Literally, nothing is thrown away or even makes it as far as the compost, other than boiled bones. Everything is consumed by either human, dog or cat.

I’ll provide my catinfo.org inspired recipe in an upcoming post.

The Easiest and Best Coturnix Quail Brooder

Many designs for chick brooders exist out there, but most of them are high-maintenance, hard to clean, or labor intensive to construct.

I’d like to share with you the best design I’ve come up with for brooding very small quail chicks (or chicken chicks or ducklings). The parts are cheap and easy to put together and clean, the water stays crystal-clear without drowning incidents or changing five times a day. The chicks stay healthy and there is a minimum of care involved.

DSC_0003You start with a standard Rubbermaid bin, the one foot tall size works best. Remove the lid and store it. This gives you a nice solid-walled brooder that will protect the tiny chicks from drafts which can chill them. If you decide at some point that raising chicks is really not for you, you still have a usable bin.

Line the bottom of the bin with shop towels (as seen here) or paper towels. Anything slicker, even newspapers, will cause traction problems and you could end up with spraddle-legged chicks who will not survive. Place a shallow saucer of food and also sprinkle some food around on the floor of the brooder so the babies can easily learn to peck at the pieces.

DSC_0019Nutrition is very important. Quail grow incredibly fast and will run into problems if fed incorrectly. I use a 26% gamebird crumble throughout their lives and they do very well on it. You don’t need to pulverize the crumbles, the chicks will find pieces small enough to eat.

DSC_0002Now you need to create a mesh top for your brooder to provide ventilation, keep quails in and prying fingers and paws out. I created this top easily using a piece of 1″ by 1/2″ galvanized wire mesh, normally used for rabbit cage flooring.

Cut a piece that is 26 inches long by 20 inches wide. Remove a 2″ square from each corner so you can bend the sides to form an overhanging lip. Use a piece of 2 x 4 lumber as a guide and a hammer to bend your sides up at the seam and fasten the corners together with small hog rings or j clips.

DSC_0006DSC_0005Next, cut out two 5″ by 1″ slots in the center of each short side to accommodate the handles. If you bent your sides and corners neatly, everything should fit perfectly.

DSC_0002

Brooder with drinker flap open

Next you want to cut out a square in one corner to accommodate your drinker or waterer. You will need to customize the size of the opening to fit whatever container you use. Then cut a square that is 1″ larger on three sides to fit over the opening like a flap. Connect at the hinge with more hog rings.

DSC_0001

Brooder with drinker flap closed

Now you need to construct your waterer. Mine is made from a small plastic honey specimen bucket with a lid, but you can use any small plastic container with a lid such as a clean, large yogurt container. As long as you can fit your hand inside to install the nipples it should work. If it has a handle, even better. If not, you may have to add one with a piece of wire or cord.

I find that two nipples are sufficient for the amount of quail that can fit in this small brooder. Make sure you buy high quality nipples as the cheap ones may leak and/or fail. These ones cost me over $8 each, but they’re worth it. Install your nipples carefully and test to make sure they are working and not leaking. To install, just drill a hole slightly smaller than the nipple and push it in tightly. Always retest your nipples when refilling to make sure they are still functional.

DSC_0011

Chick drinker with nipples installed

DSC_0010

Drinker supported by mesh lid

Your drinker should fit snugly over the mesh and hang inside the brooder. When the  chicks are very small you will need to adjust the height, beginning with having the nipples only an inch or so above the floor. To do this you will place the drinker inside the brooder and hang it from the mesh at the suitable height with S hooks.

DSC_0016

Drinker height adjusted for newborn chicks

DSC_0017

With safety flap closed

Now you just need to add a heat lamp overhead at the correct height and fill up your waterer. You can see my heat lamp has a metal safety grille which needs to be removed as the chicks need the bulb itself quite close to the mesh top for the first week or so.

The chicks learn very quickly where the water is and it won’t need to be refilled for at least a few days and up to a week. The water will stay sparkling clean with almost zero maintenance. An added benefit is it provides a small shaded area for overheated chicks.

DSC_0022

Ready for new chicks!

This size brooder will hold approximately 60 quail chicks (at an absolute maximum) for the first couple of weeks. The chicks will tell you if they are too hot or too cold so pay attention to the noise they make and their activity. Make sure the heat lamp is not placed directly above the water as chicks don’t like water that is too warm. Also keep it away from the sides of the bin as they may melt.

As the chicks grow and poop, add layers of woodchips (not cedar) or wood stove pellets to the floor and adjust the drinker height accordingly. I don’t clean out my brooder until the chicks are taken out, I just add more bedding as needed.

If you have any more questions about brooding Coturnix Quail chicks, ask me in the comment section below or check out my Coturnix Quail Chick Care Sheet. Happy brooding!