Chickens Move Out

DSC_0007.JPG

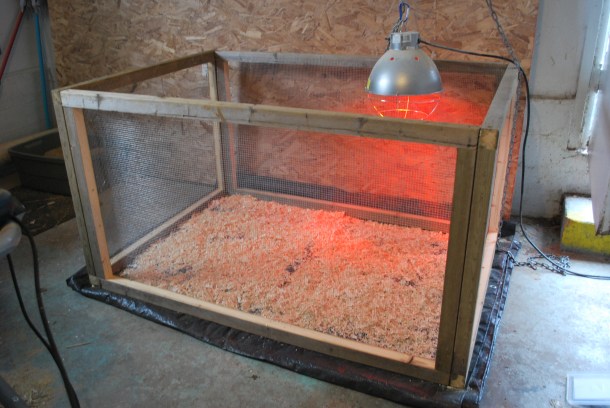
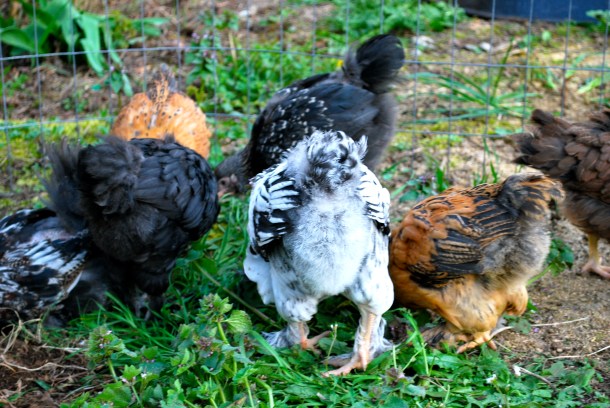
The young chickens are now almost seven weeks old and it was high time to get them out of my basement. Too much dust, noise and chicken stink!

DSC_0005.JPG

I was able to finish most of their brooder/mini coop today and they will be living outdoors from now on. I decided to add a floor since I don’t want rodents sneaking in and it’s always a good idea to have some ventilation underneath. Part of the floor is recessed with a solid bottom, and that area will contain bedding, the perch and food bowls with a solid roof covering it. The front ‘patio’ area has a mesh floor and will have a mesh roof that flips up on hinges. The solid roof will also be on hinges for maintenance. I still need to cut my piece of roofing and attach hinges so for now I have it wrapped in a tarp.

DSC_0009.JPG

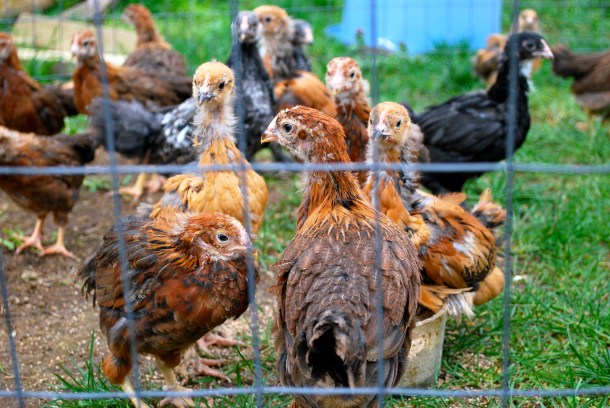
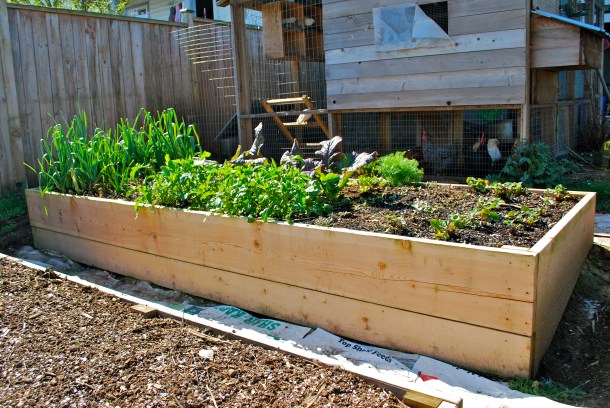
The little attached run area will be where they spend their days in nice weather. Four Welsummer roos have already been sent to freezer camp, and I am now down to 16 birds. Pretty confident about two Cochin roos, and possibly a few more. They’ll be off to camp as soon as I know for sure.

DSC_0012.JPG

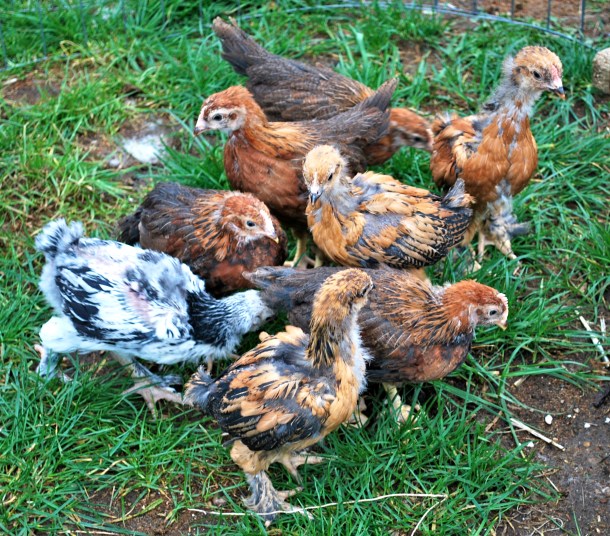
Since I’m raising the two breeds side by side, I’ve noticed some differences. The Welsummers are calmer, quieter and smarter. They figured out the roost first, and they tend not to squawk bloody murder like the Cochin/Brahmas when I pick them up. I definitely prefer quiet hens so this is a great development. All the Welsummer roos that I identified as chicks did indeed turn out to be males and that’s excellent as well. If I hatch them again I’ll be more confident about culling them without having to wait 5-6 weeks for secondary characteristics.

I leave you with a gratuitous shot of fluffy seven week old chicken butts…

DSC_0022.JPG


Raised Beds Complete

DSC_0003.JPG

My trio of garden beds are finally complete, and just in time too. I now have an empty compost pile and the entire chicken pen floor has been dug out at least a foot deep.

I keep trying to get cheap wood chips from local tree companies for the pathways and chicken pen, but it seems everyone else has the same idea and I’ve had zero luck. The cheapest I can find them for sale is $20 a yard plus $100 delivery, which would make a single truckload cost around $400 and I’ll probably need two to last me the year. I’m pretty close to buying my own wood chipper and putting up an ad for tree pruning services!

DSC_0010.JPG

Everything I planted in the first bed is really taking off and if you scoop any of the material out it’s totally chock full of worms. I have one of my young does living over the unfinished beds while I work on them so she can fertilize. Once winter rolls around again I’ll probably try to install rabbit cages over every bed. Might as well get the manure where you want it without the shovel.

DSC_0074.JPG

I also potted up my baby tomatoes today. I had three out of the four varieties I planted germinate well, even the old Prudens Purple seeds from 2008! When I told the seed company about it, they said tomato and pepper seeds can last a decade or more if stored in cool, dry conditions. Wow!

DSC_0020.JPG

The lacinato kale is also feeling frisky and setting flowers. I’m looking forward to another boatload of seeds like last year, this will be my second variety. Kale is such a workhorse in the garden.


Fermented Grain for Chickens 2.0

DSC_0077.JPG

I wrote some time ago about fermenting grain for my chickens. Back then I was doing it in a large glass jar in my kitchen. Yeah, that was never going to last.

Last fall I started getting serious about fermented grain. I tried so many times to grow fodder for my hens over the winter, but nothing I did could prevent mold from taking over every tray. I wanted the girls to have something ‘alive’ to eat during the cold months, so I set up a 5 gallon bucket beside the coop and dumped in a bunch of different grains and covered them with water. That’s about how hard it is to get started.

Currently I use whole corn (it’s crimped in the photos because the feed store gave me the wrong stuff last trip), whole wheat, whole black oil sunflower seeds, whole millet, whole oats, whole barley and some wild bird seed that the wild birds couldn’t care less about.

DSC_0076.JPG

It worked great. I read somewhere that you could add layer pellets to the bucket too, but when I tried that I soon had a case of moldy top scum on my hands. I dumped that batch out and started over, and now I don’t put regular pellets or crumbles into the mix. I haven’t had any more issues with mold.

DSC_0075.JPG

After a while I got adventurous and started adding things. I got some kelp powder, turmeric, garlic powder and cayenne. Now each time I add new grain to the bucket a tablespoon of each supplement goes in too. It smells great and the birds love it. Not simply the chickens but also the pigeons, ducks and pheasants.

The cayenne keeps rats away and was the trick to jumpstarting my Ameraucana hen into laying again this spring after she seemed a bit ‘stuck’. Did you know cayenne is one of the ingredients in the special red-factor ‘color enhancement’ food you can buy for canaries?  Birds don’t have the ability to taste capsaicin so to them it’s just extra delicious.


Easter Bunnies Update

The first spring litters are now almost three weeks old and everyone is doing great. All kits are fat and happy and just starting to foray out of the nest boxes. Soon they’ll be munching fresh greens alongside their moms.

DSC_0015

This first litter is out of Caraway and they are half Champagne d’Agent, a quarter Standard Rex and a quarter Creme d’Argent. Half the kits came out agouti with a little white spot on their foreheads, and the other half came out looking like black otter Rexes (which is what their grandsire was), with some frosting on their bums that is very similar to Silver Marten markings.

DSC_0004

DSC_0006

DSC_0012

The next litter is out of Esther, and they are the Creme d’Argent/Champagne d’Argent crosses. They all came out agouti colored but I’ll be interested to see if they develop any white frosting as they mature. The one white kit in the nest is a Californian baby that was transferred as a day old to even out the litter sizes.

DSC_0020


DSC_0025

Litter three is out of Samphire, and are our pure Californian bunnies. These little guys are just starting to get their dark points coming in.

DSC_0033

DSC_0037

DSC_0029

And finally, litter number four is out of Fire Opal and are the purebred Standard Rex buns. She only threw three bunnies this time, so I took four bunnies away from Caraway (she had 11) on day one and transferred them to Opal’s nest. They are the agouti and solid black colored ones.

DSC_0042

It looks like the solid Rex kit is an opal like mom, which is a blue coat with a reddish undertone and cream belly. Very pretty.

DSC_0043

DSC_0045

Kit number two is either a broken blue otter, or a broken opal. Also very pretty with a nice pattern.

DSC_0050

DSC_0053

DSC_0057

And lastly, the third Rex kit appears to be a broken black otter. You can see the snips of tan around the nostrils, eyes and ears that give it away.

DSC_0062

DSC_0063

DSC_0069.JPG
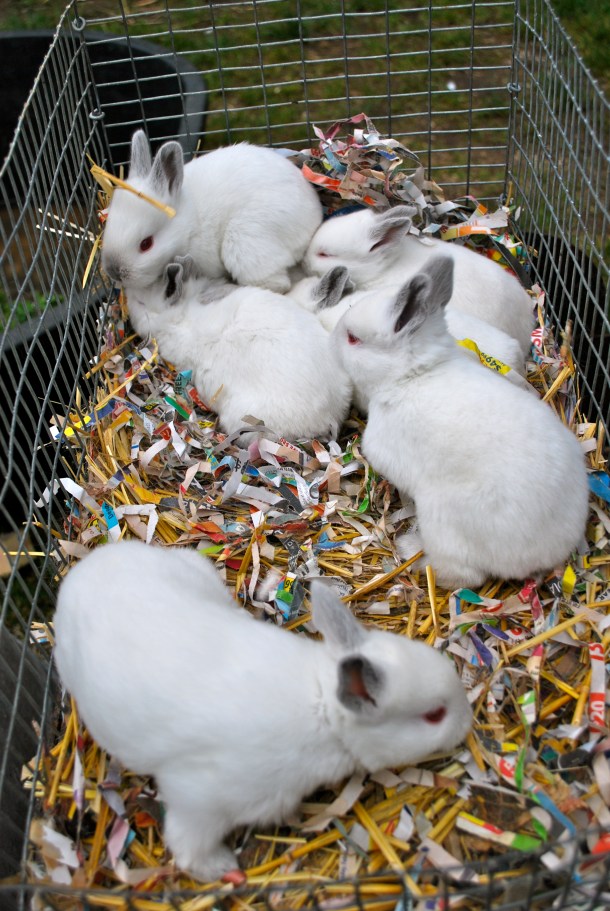
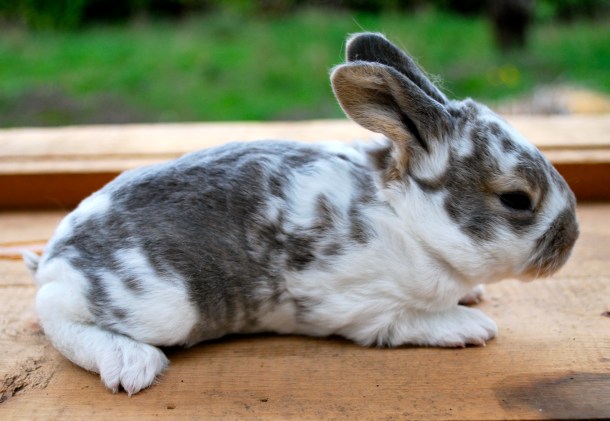
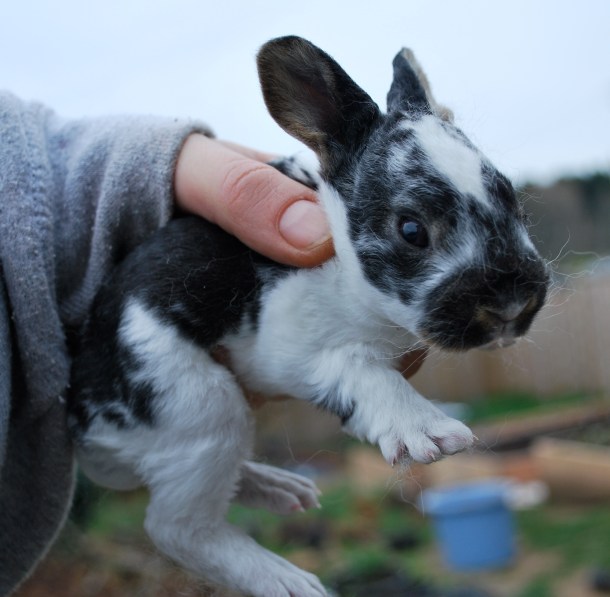
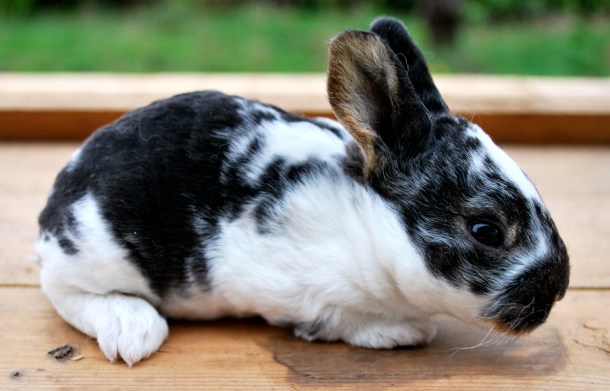
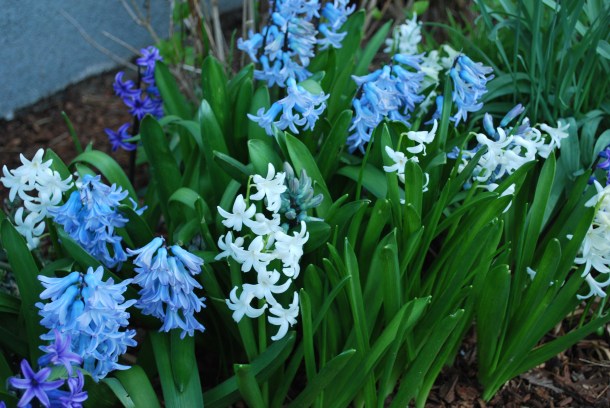
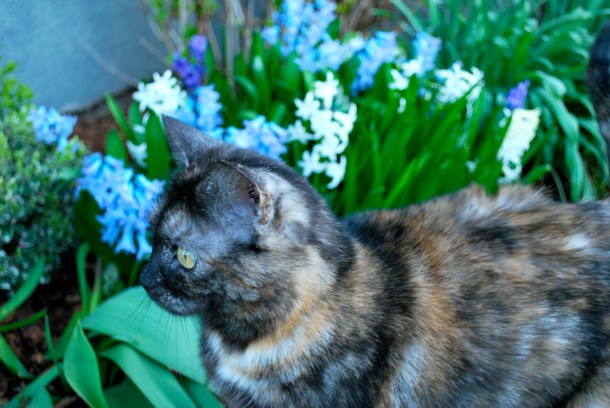
Happy Easter everyone!
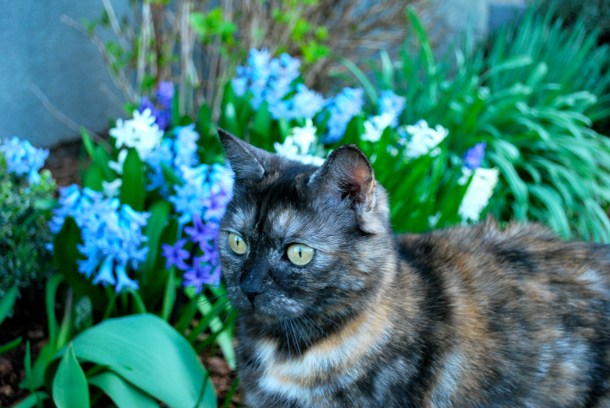
A Couple of Eagles

We are open again at the Raptor Centre! It’s been great to have everyone back in to see the demos and visit with the birds. It’s a busy time, but I love that there’s always something to do.

Here are a couple of shots of two of our lovely eagles. The first is one of our adult male bald eagles who has just finished performing his aerial maneuvers for a big crowd in the daily flying demonstration.

DSC_0014

And here is one of our female golden eagles with a juvenile male baldy in the background.

DSC_0010

Because it’s spring time we also have lots of raptor moms getting ready to hatch out some eggs. I can’t wait!

Great Horned Owl on the Glove

DSC_0010

Here is one of our beautiful male Great Horned owls. This species has a lot of variation in plumage color, and this particular owl is from further north so he is very light. In these photos I have brought him out of his aviary to soak up some warm spring sunshine

DSC_0015

What an absolute sweetie he is. The little sounds an owl makes when they are content would melt your heart.

DSC_0012


Free Rabbit Food: Purple Dead Nettle

DSC_0023.JPG

This is the first post in a series where I show you the seasonal wild, free foods that I feed to my rabbit herd. It’s good for them and cheap for me, so it makes us all happy!

DSC_0024.JPG

Purple dead nettle, also known as purple archangel or Lamium purpureum, is a herbaceous flowering member of the mint family common to North America, Europe and Asia. It’s edible to humans both cooked and raw and contains vitamins C, iron and fiber as well as flavonoids and minerals. It’s known in the herbal world as an astringent, diuretic, diaphoretic and purgative.  It’s also anti-inflammatory, anti-bacterial, and anti-fungal.  The leaves can be used on external wounds or cuts, or as a poultice.

DSC_0022.JPG

I have a whole field of this stuff popping up this spring, and the bunnies are loving it. I’ve been giving them all a great big handful each day and it disappears fast. Maybe your bunny would enjoy it too?

DSC_0018.JPG

Caraway is about to mow down this pile to nothing

Deep Litter Method for Rabbits

DSC_0017.JPG

Mathurine in her deceptively empty cage. She has just demolished a pound of wild greens and the remnants have been folded into the bedding

Lately I’ve been trying something new in my rabbitry, the deep litter method.

Many people use this method with chickens, pigs or cattle; but it isn’t something you would normally think to use with rabbits, unless they’re conveniently on wire like mine.

My cages used to be about a foot off the ground, and this meant I needed to do a thorough cleaning every week. More often if there were growing litters. Most of my bunnies are currently housed over a concrete floor, and I use pine pellet bedding underneath to absorb the urine. This works great because wood pellets require a good nitrogen source to start breaking down properly, and the urine provides that. It creates amazing compost in a very short time.

Not long ago however, I raised my cages up another foot. Not only did this make it easier to clean underneath them, but I noticed that if I just stirred up the litter daily with my garden hoe and kept adding more pellets to wetter areas as needed, that the bedding was beginning to compost under the cages. There was a lovely earthy smell in the barn and pellet use was cut down to about one tenth of what I was using before. The 6″ to 12″ thick layer is also much better at absorbing urine and water spills.

Another added benefit is it’s pretty much ready to go right into the garden once you do finally clean it out. I plan to leave a 2″ layer of old material underneath once I do this, in order to reinoculate the new bedding. I’ve read that commercial chicken farmers actually have a lower mortality rate for new chicks if they are introduced to well-aged deep litter bedding as opposed to a freshly sanitized clean environment, because the good bugs establish slowly and fight off the bad bugs, which establish more quickly. It makes sense to me.

Everything that falls into the bedding gets mixed in and helps the breakdown process along. Hay, straw, bits of vegetation that the rabbits drop, feed pellets, shredded paper and fur. Since I get a lot of free used coffee grounds from the local Starbucks, I sometimes sprinkle a few cups over the top.

In some areas, when I fluff up the bedding I find colonies of maggots. These spots have the blackest and richest looking compost in them, and I will sometimes scoop a bunch of it out and toss it into the chicken coop for the girls to pick through. The maggots are a great and free high protein treat for them.

Chick Update and New Brooder Finished

DSC_0009.JPG

The little chickens are now nearly five weeks old and they are maturing fast. Today they went outside for the first time to enjoy a little bit of the warm weather and sunshine.

DSC_0005

While they explored, I finished their new brooder as they have definitely outgrown the livestock watering trough they started out in. I decided on a 4′ by 3′ by 2′ high brooder, which is ok for this amount of chicks for now, but is designed to comfortably hold only about six growing chickens. It’s in my basement presently, but once the roof and perhaps floor has been added it will be moved outside .

DSC_0002

As soon as the cockerels start making themselves known, I will be selling off all but the best two or three pullets of each type. I’m pretty sure I know which Welsummers are roos, but the Cochin/Light Brahma crosses are not as obvious. I did see my favorite, the largest one, sparring with other chicks today while outside in a distinctly male-type way, but nothing is definite yet. If you’re interested in some chicks, you can reserve them now by contacting me.

DSC_0010

Meanwhile, the three bantam chicks have been separated out into their own small brooder. They are just too small to be in with all those big boisterous large fowl chicks and they were getting trampled. They’re much happier now.

DSC_0002.JPG