2020 Farm Update

IMG_7295

Welcome back! It’s been awhile. Lots of changes have been made here at Abernathy’s. The most exciting one is that we had a (human) baby! Our human baby is now 2 years old and we couldn’t be happier with our new little family.

Rabbits! Ah, so much has happened with the rabbits. We’ve made the decision that we will no longer be breeding any purebred rabbits for the time being. The reasoning? Primarily, the reason is that purebred rabbits are just never quite as healthy as hybrids. They get sick, they get hurt, they die for no reason while our hybrids stay healthy and happy no matter what. There’s nothing worse than putting energy and heart into a beautiful rabbit that just up and dies for no reason way before its time. What can you do? Purebred rabbits are bred to look a certain way. Health comes second.

That being said, breed one purebred meat rabbit with another purebred meat rabbit and you get… An amazing healthy litter of F1 hybrid mutts. What will they look like? Who knows! That’s part of what makes it fun, for me at least. Then you can save the best rabbits from that litter and breed them out again to another purebred rabbit. Then you get… Even healthier mutts? Sometimes! It’s called hybrid vigor and it’s for real.

You can select for whatever you want. I have a strain of rabbits that does particularly well on forage. Not that they don’t all enjoy their fresh greens, but this strain will eat forage first over pellets, do better on it and eat more of it than my other rabbits. It’s pretty obvious why I find this trait desirable. There’s no guaranteeing rabbit pellets are going to be available forever.

First and foremost I breed for health, temperament, grow-out rate, litter size, mothering ability, pelt quality and appearance. When you buy a rabbit from me, you are buying nine years of that selection process. It’s pretty great.

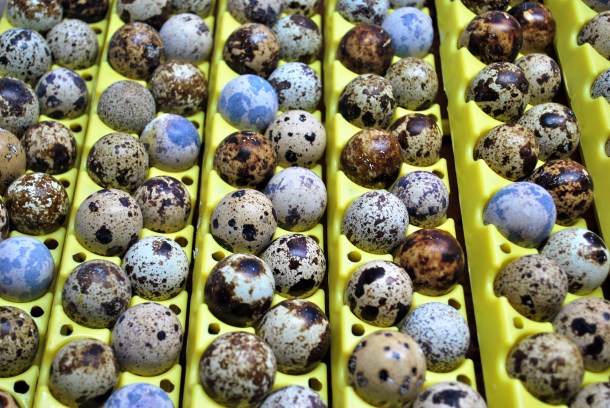
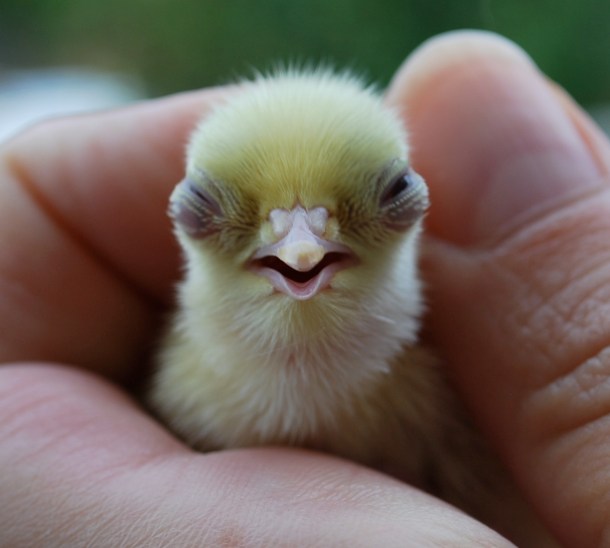
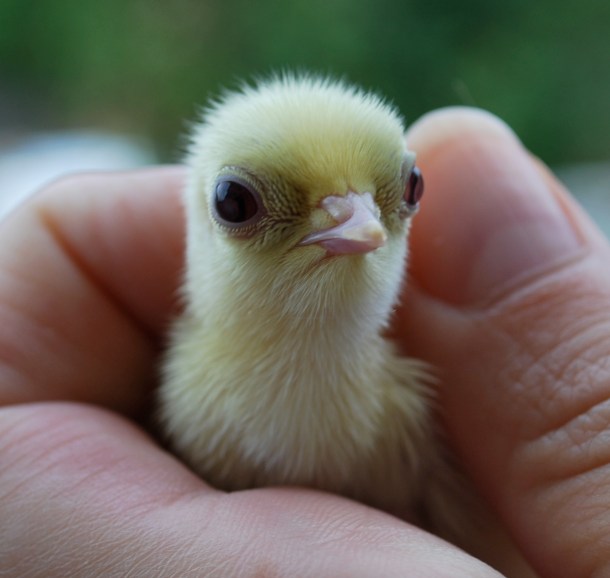
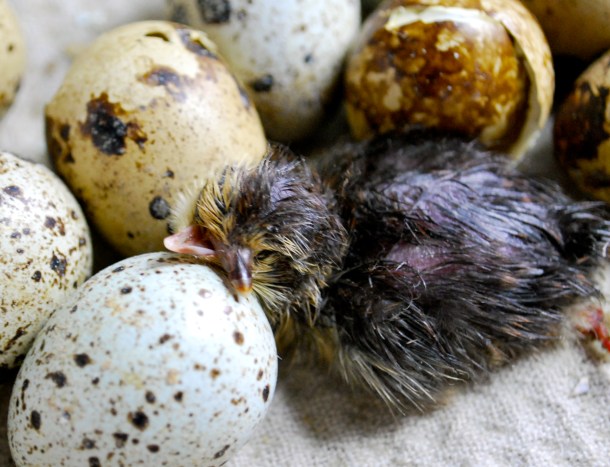
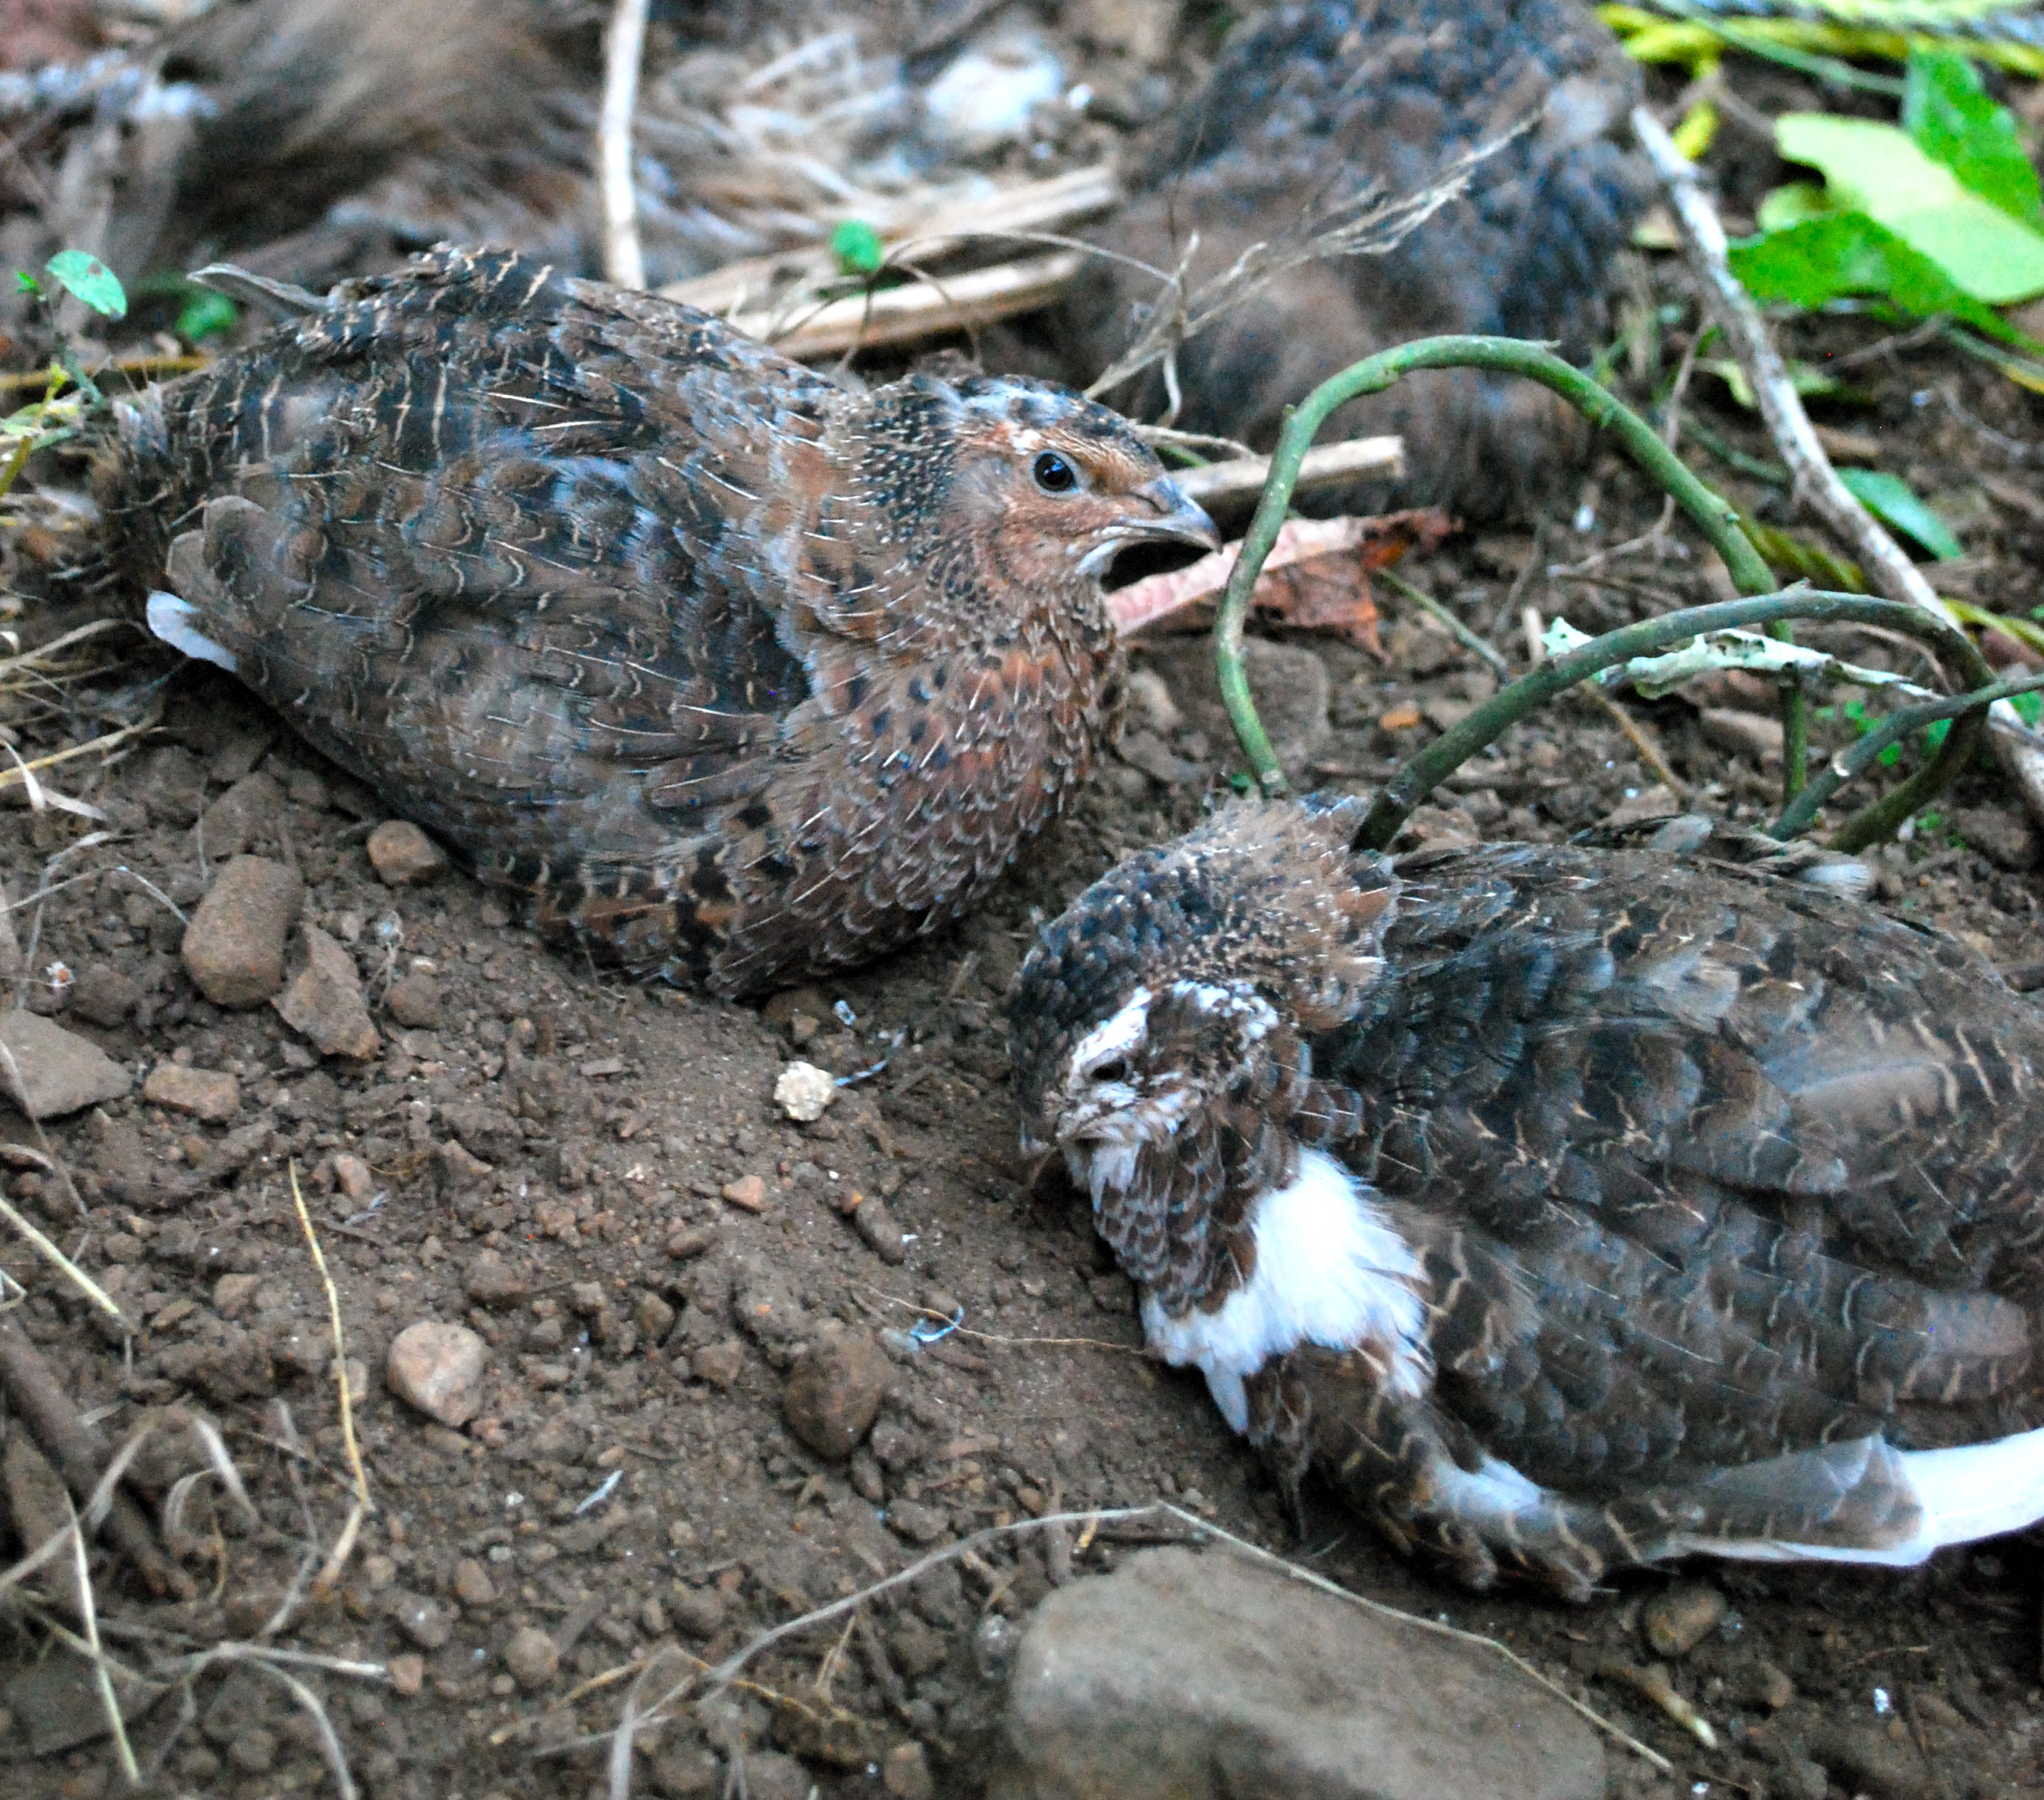
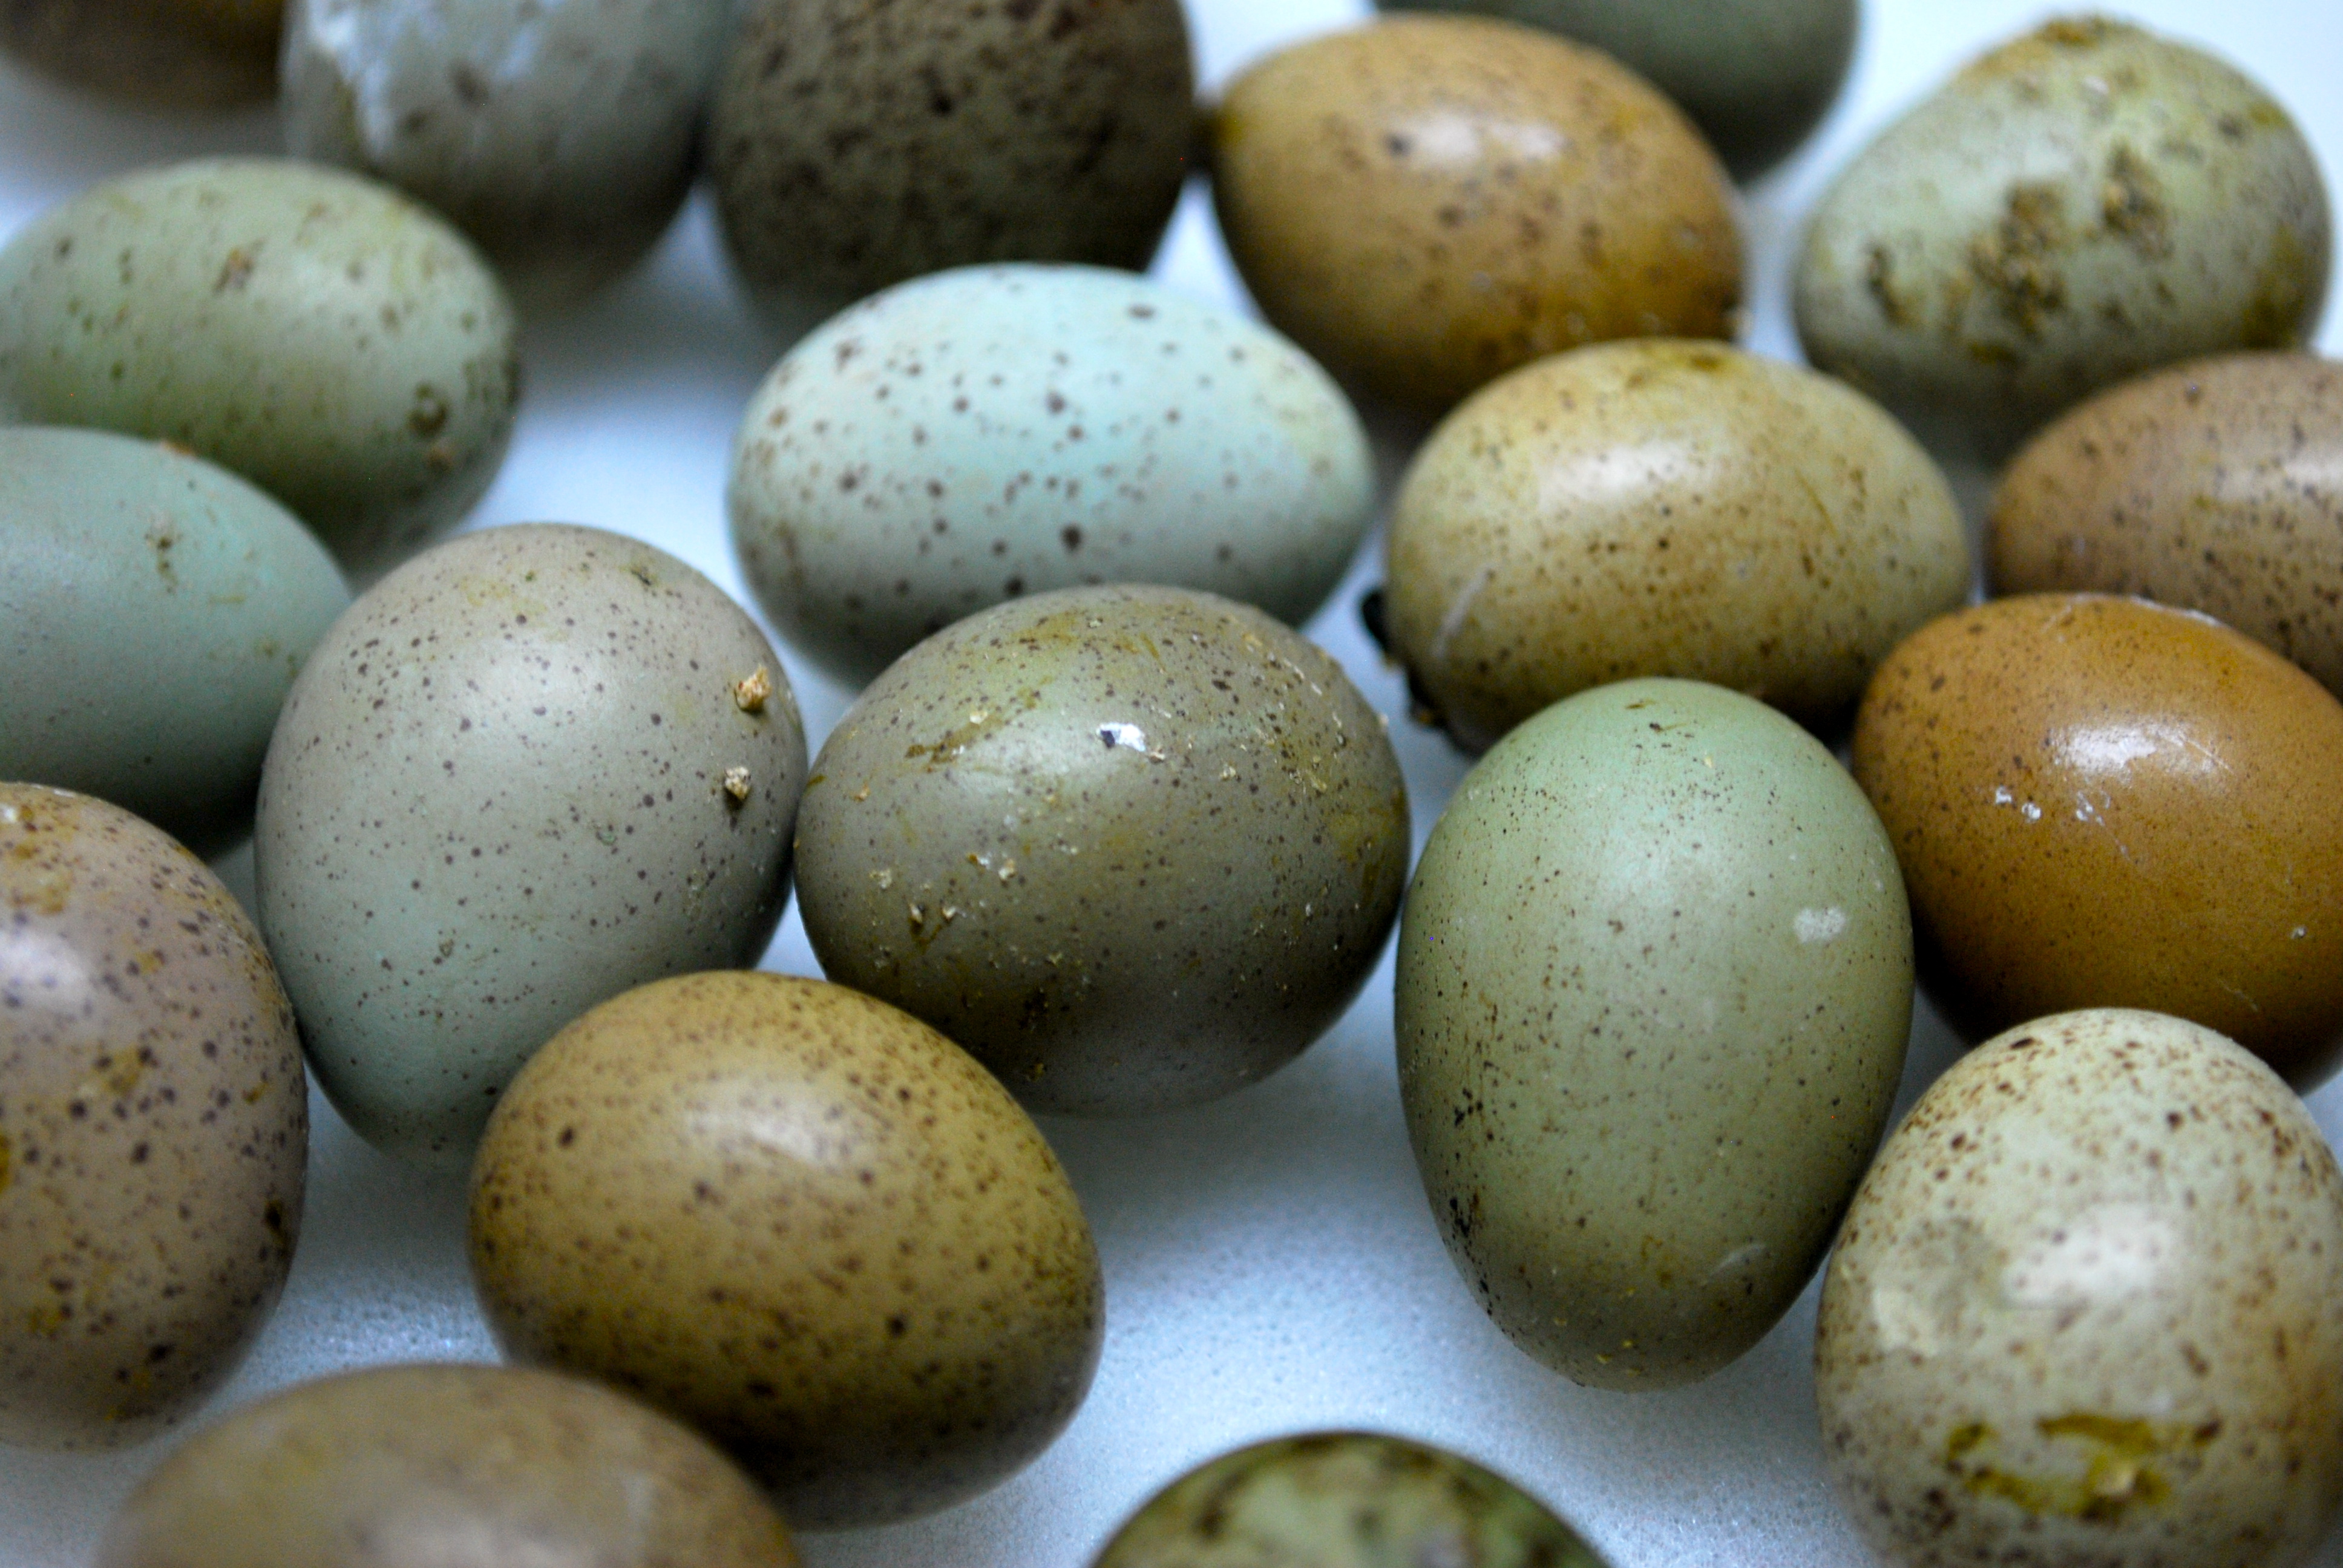
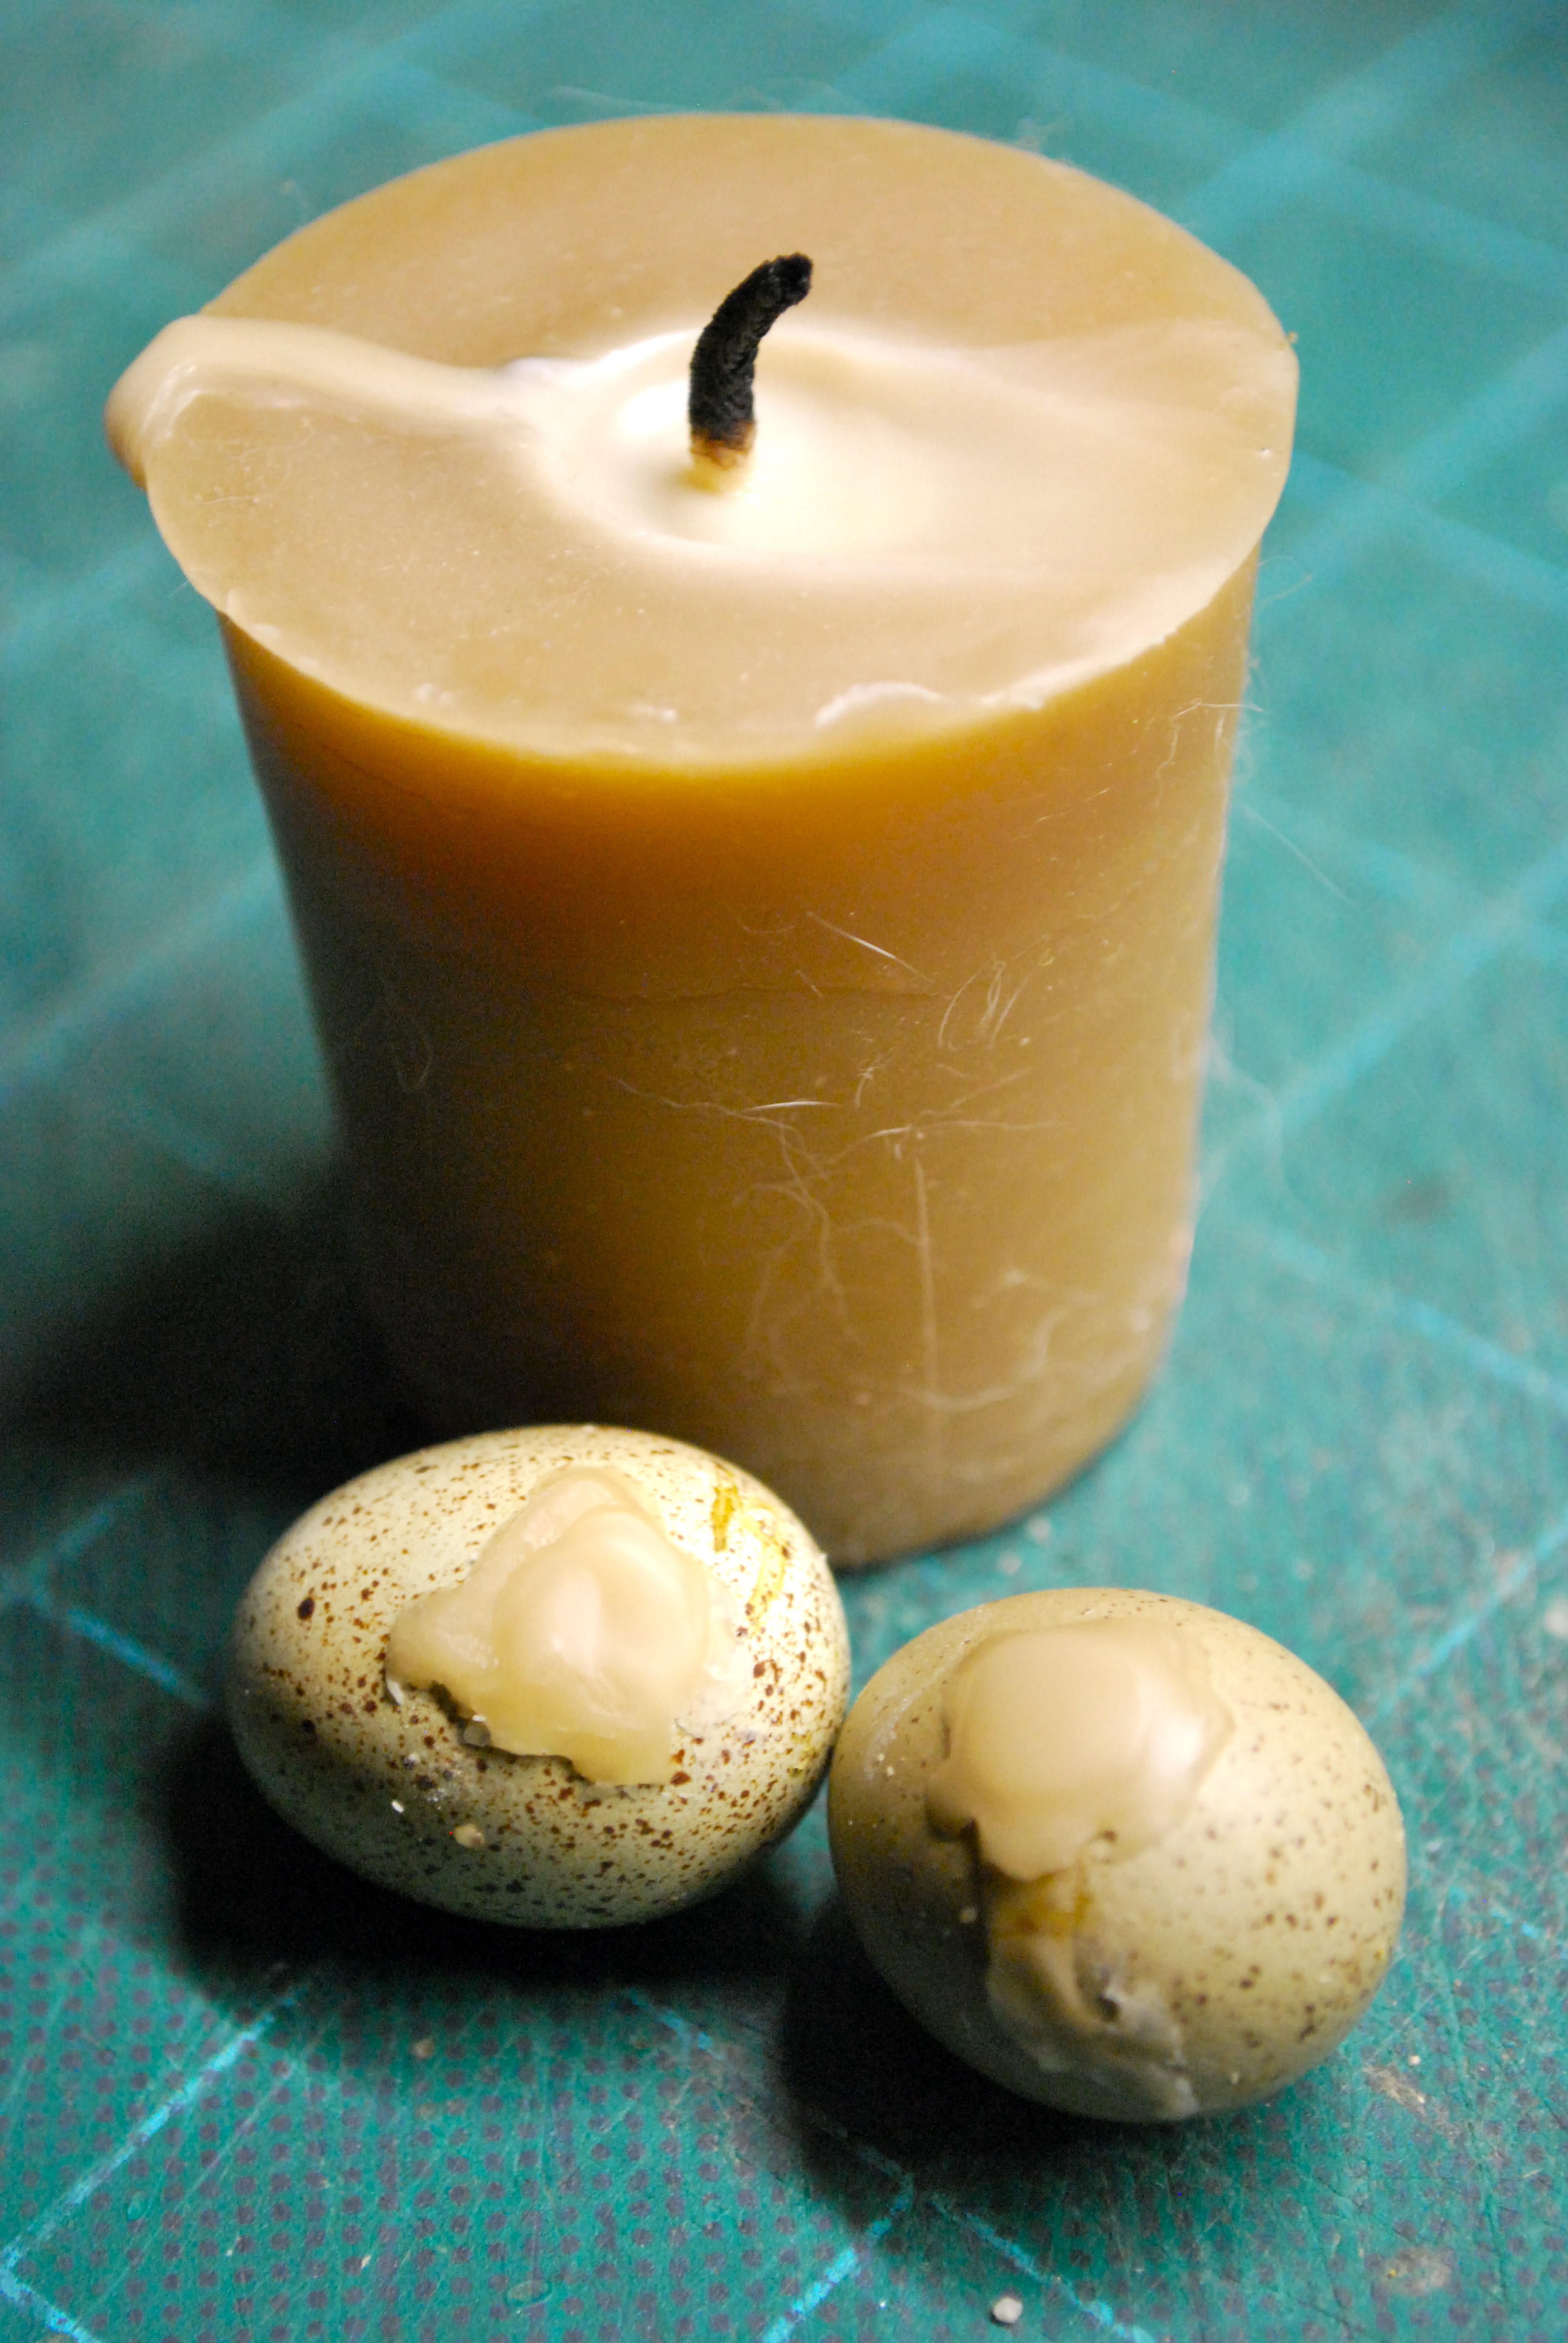
We have also stopped raising Coturnix quail. It was interesting while it lasted but it became more work than it was worth. Quail eggs are charming and healthful, but they’re annoyingly small and don’t keep well. The birds themselves are cute and delicious, but they’re also dusty and violent, and the males can be noisy. Maybe we’ll get back into them someday when we have more space.


My Coturnix Quail Eggs are Too Big!

DSC_0021.JPG

Standard quail egg on the left and one of my typical eggs on the right

It’s that time of year again when I do my first big quail hatch of the season, so I’ve been dutifully collecting eggs and placing them in the turner in a cool place until I have enough to incubate. I get about 12 to 20 eggs a day so it takes about a week to fill my turner up with the best eggs. But there’s a problem this year… My eggs are way too big!

I’ve come back to the turner to find crushed eggs almost every day now. The quail rails on my Hova-Bator turner are just not large enough, and when the turner goes all the way to one side, the largest eggs get crushed by the edges of the rail next to them and fall through making a huge mess.

DSC_0022.JPG

Regular untrimmed rails

I know this is not the worst problem a person can have… I select for large birds and I guess I’ve finally reached a point where their eggs have outgrown the turner. These are not double yolkers either, they are just very big. It was getting so that less than half of my daily egg collection would fit in the rails safely. But I wanted to hatch out those big eggs, they probably have big chicks in them! What was I going to do?

Solution: Trim the rails. It turns out that you can make some simple alterations to the plastic rails with a Dremel tool that allows for even very large quail eggs to fit without being crushed. The integrity of the rail is maintained, and it’s quite easy to do. In fact, the rails really should have been designed this way to begin with!

DSC_0003.JPG

Two bottom rails have been notched

Eggshells Instead of Bone Meal for the Garden

DSC_0009.JPG

Plants need calcium, especially things like tomatoes which will suffer from blossom end-rot without sufficient amounts.

I save all my eggshells and my birds generate about 5 to 10 pounds worth per year. I dry them, crush them and every spring I spread them all over my gardens. Today was eggshell-spreading day! There are usually none left over, but when there are they get fed back to the birds who love them.

DSC_0006.jpg

I really appreciate that I don’t have to purchase bone meal, which is a by-product of the beef industry. It’s nice using fertilizers that are generated right here on the property and it saves me money. I don’t bother crushing them to a powder, I just do the best I can and they decompose over time.

It’s a myth that eggshells will prevent slugs in your garden. Tests have shown that they actually attract them! If slugs are a concern for you, turn your eggshell into the soil so they’re covered. I don’t bother with this because my ducks eat most of the slugs around here and I like the way the shells brighten things up.

DSC_0073.JPG


Deformities of Coturnix Quail Chicks

It’s quail hatching time again, and I managed to fill the incubator right before the egg laying season ended. A little late this year, but that’s ok.

When you hatch large numbers of quail chicks you will occasionally get deformities. The chances go up if your incubator conditions were not ideal, or your breeding birds are old.

So far, 82 of my 120 eggs have hatched out and for the most part everyone looks good. There are a couple of chicks with splayed leg, which may or may not resolve itself. This always seems to happen regardless of the fact that I offer a surface with good traction right from hatch.

DSC_0004.JPG

Chick with splayed leg

And there are a couple of chicks with bulging eyes. This also seems to happen every time and I’m not entirely sure why. These chicks look healthy enough for the first few days but in my experience will usually die. You can see in the photos how much larger the eyes are than in a normal chick. It looks very uncomfortable but I always like to give them a fighting chance.

DSC_0011.JPG

DSC_0012.JPG

This chick has bulging eyes

DSC_0017.JPG

Compared to normal eyes in this chick

Today I had a deformity pop up that I’ve never seen before. This little chick has the whole top of their beak twisted into a 90 degree angle from their lower beak. It also seems like they may be missing an eye on the squished side. How on earth did this little bird even get out of the egg?

DSC_0003.JPG

Anyway, with a deformity this severe, you can be pretty confident that this chick would just suffer and eventually die from hunger or thirst, so I euthanized it. Its little body did not go to waste and was happily eaten by chickens to be converted into more eggs.


Raised Beds at Last

DSC_0007

“I am helping”

I’ve been here three years now, and come a long way in the gardening department considering there was nothing when I started.

This garden plot was dug the very first spring, and it comprised many hours of backbreaking work, only to succumb to an influx of weeds that were impossible to control. The soil, which looked great at first, turned into a hard-packed hydrophobic carapace, and my harvests were pitiful.

The next year I smartened up and used a thick layer of woodchip mulch which resisted most of the weeds and protected the soil from drying out. However, there is still a pronounced slope to the yard here which causes constant erosion and is vulnerable to chicken, duck and dog attacks. I don’t allow much free ranging of birds precisely because of this issue. A single hen can cause a lot of damage in a very short time.

The whole area needed cleaning and tidying up and I thought the best way to do this would be to convert it to raised beds. I had the best garden of my life when I was using a raised bed in Vancouver. They look nice and neat, are higher up so easier to tend, they are level, you can fill them with whatever you want, and it keeps the lawn from creeping into your plots. It also creates a sturdy foundation for all kinds of cool projects, like trellises, hoop houses, chicken tillers and quail pens.

My first raised bed project after completion of the bed itself is to build a large segmented quail pen with a living roof to sit partially on top. There will be a metal mesh insert buried about 6″ under the earth and screwed into the sides of the bed to prevent rodents from getting inside. This will give the quail more space, an earth floor (which I know will make them lose their tiny minds with happiness) and access to vegetation, rain and added sunlight. (Rain? My experience at the raptor centre has taught me that sometimes birds just like to sit in the rain…) The earth floors will also keep their feet and feathers healthy and I will have space to add more natural hiding areas. I’m hoping this will help cut down on bullying. The pen will be segmented down the middle to make two separate living areas so I can keep certain individuals apart.

Here’s what the area looked like this morning:DSC_0002

And here’s what I accomplished today:

DSC_0008

First the little apple tree had to come out. It had barely any root ball, just one giant long taproot that ran horizontally about 20 feet. Should be fun replanting it later…

I was able to get the first bed aligned, level and square. The beds are 12 feet by 4 feet and the top row of boards are 2″ by 12″ fir. The ends are spruce because they were out of fir. We’ll see how that turns out.

The next step will be to add an 8″ by 12′ board on the bottom of the low side to bring it to the ground. This is an easy method for building raised beds on a slope. The side pieces will be long triangles that will give the appearance that the bed is half buried.

You can see that I’m also placing a thick layer of newspapers under the edges of the bed. This is just to keep weeds down in these areas. I will not cover the insides of the beds, but I will put down a layer over the paths and cover the paper either with straw or wood chips. I’ve been saving paper for awhile now and I’m glad to finally convert it to worm food.

DSC_0005

I’m planning three beds in total, with 2 or 3 foot wide pathways between them. The supplies for this project (wood and 3 inch deck screws) cost me just about $250 CAD.

Of course, now that I look at this first bed, it seems it will be almost impossible to fill. It will be almost 20 inches high on the downhill side! Luckily, it’s time to dig out the chicken pen floor and replace it again with woodchips. It’s taken a year or so, but the chickens and worms have transformed the chunks of wood into beautiful, rich black earth. It’s gorgeous stuff and I know it’s going to grow me some amazing produce.


Free Range Quail Experiment

DSC_0006I have all of next season’s breeding quail weighed and selected for size and color, and I was left with 30 young birds that didn’t make the cut. I put them up for sale at a discounted price but since laying season is coming to a close, there wasn’t much interest. Even despite the fact that with a little supplemental lighting they would lay well through winter. So I butchered some, and with the birds I had left, I decided to try a little experiment.

I took a dozen of the mostly wild type and Tibetan colored birds and set them free near where they’d been housed. It’s a sheltered area at the back of the barn under a few large lilacs in my fully-fenced yard. I do have cats and dogs that roam around, and my cats do sometimes kill birds, so I was interested to see what they’d do. Luckily, there have been no issues at all. The cats and quail are used to seeing each other around and the quail just don’t run so the cats don’t bother to chase. The dogs have also left them completely alone.

The quail seemed very happy to be free, and immediately started dust bathing like their lives depended on it. I had to make sure not to step on them as I walked around the yard because they blend in so well and had no fear of me. I set up a little food and water station for them which they haven’t used much.

This morning I woke up and they were all over my compost pile, happily scratching away in the sunshine. Most of them are still hanging around the same area they were released from after 24 hours. I’ll be very interested to follow their progress and see how they do over the winter. DSC_0015

The Fair

DSC_0010I spent last weekend at VIEX, our local fair. I had six young quail on display in the poultry barn and the rest of the time I was assisting with the raptor flying demonstrations.

I was primarily the sound tech, but was also lucky enough to be able to man some birds and talk about them with the public. We had a Swainson’s Hawk, a Harris Hawk, a Spectacled Owl, an American Kestrel and a Turkey Vulture. It was hot out and there were a few technical difficulties, but the birds all did a marvelous job as usual and I think everyone had a great time, I know I did.

DSC_0009

Harry, the Swainson’s Hawk, one of the birds who flew at VIEX

I really enjoyed dropping off my quail early and getting a chance to view all the animals while everything was still clean and quiet. Once the crowds arrive and everyone begins poking at and commenting on the livestock, the charm kind of wears off for me.

DSC_0005

My little quail display

DSC_0006

DSC_0020

DSC_0004

I really liked these Speckled Sussex hens. They won some very fancy ribbons

DSC_0002DSC_0015DSC_0019DSC_0014I got to talk to some knowledgeable rabbit and poultry breeders, and I may have a gorgeous Champagne d’Argent doe lined up in a few months from Victoria. I also got a great deal on a new two hole rabbit carrier and picked up two very nice handmade wrought iron hooks for $30 from the Blacksmith Association.

It was funny to see these signs posted all over the rabbit barn, I suppose some people think the rabbits live out their lives in the tiny carrier cages. A bit silly.

DSC_0035

Button Quail Have Hatched!

DSC_0033Yay! My shipped button quail eggs were viable! So far I have 11 chicks hatched out of 36 eggs, and I think that’s all I’m likely to get. Still, that’s not too bad for eggs sent through the mail. I also have about 50 coturnix chicks hatched out and for now everyone is in the brooder together. I would have had a higher hatch rate on the coturnix, but 36 of the eggs were also shipped here to bring some fresh genetics back to my covey.

Seeing as the last place I saw button quail for sale locally was charging $23.99 each, I now have $263.89 worth of birds. That’s if they all make it to adulthood.

Button quail chicks are small. I thought coturnix chicks were small but buttons are half the size. Below is a comparison with a coturnix on the left and a button on the right, both white chicks. It makes the coturnix look gargantuan!

DSC_0023

Size comparison between Coturnix (left) and Button (right)

I’ll probably separate the buttons into their own brooder within the next few days so I can keep a closer eye on them and make sure they aren’t getting trampled. It’s not like they need much space. Right now I have the same nipple waterer in with them that I use with all my newly hatched quail but I’m not sure the buttons can peck the nipples hard enough, so I’ll be giving them an easier alternative to make sure they’re drinking.

The buttons have hatched out in a few different colors. There are pure whites, a dark brown with white wingtips and a white face mask, a wild type and some silvers and silver mixes. Here are a few shots. The dark brown bird is my favorite so far.

DSC_0041

DSC_0052

DSC_0007The button quail act a bit differently than the coturnix do, they race around more, and they treat my hand more as a mother bird instead of a “scary hand of doom” like the coturnix sometimes do. If I peck at the food with my finger, the buttons watch intently and then copy my movements. If I pick them up, they don’t peep their heads off and struggle to escape like the coturnix, instead they snuggle into my palm and go to sleep. It’s very endearing.

I was also happy to see some Manchurian coturnix hatch out, as I used to have some of these but they gradually phased out after my last male proved infertile. Golden/Manchurian is a dominant trait so it’ll be nice to have this color in my lines again. It’s also a color that can be sexed by plumage like the wild types, and that’s good too.

Unfortunately the two broken button eggs I “fixed” with beeswax did not hatch. Of course, neither did 25 other perfectly intact eggs, so the experiment will continue. Bring on more hatching eggs!

DSC_0005

A Golden/Manchurian Coturnix chick

Button Quail Hatching Eggs & Fixing Broken Eggs

DSC_0010Not to count my eggs before they hatch, but I have just put 36 Button Quail eggs into the incubator. These cute and tiny little eggs were shipped to me from P & L Gamebirds, along with three dozen Coturnix Quail eggs, which are to hopefully refresh the genetics in my line. I used to think Coturnix eggs were small, but Buttons are about the size of Cadbury Mini Eggs. I can just imagine how adorable the newborn chicks will be.

DSC_0011

Button Quail eggs compared to Coturnix Quail egg

It’s always a toss-up with shipped eggs, you never know what kind of hatch to expect, so I’ll be happy if any hatch at all. A 50% hatch rate would be considered excellent, but 25% or less is more likely. Two of the Button eggs were broken on arrival, you can see the broken spot on one of them in the top photo, bottom right corner. I was going to toss them to the dog, as I would normally do with broken eggs, but since I have nothing to lose I decided to try to fix them. I took a beeswax candle and dripped a small amount of wax just so it covered the broken areas completely. We’ll find out the results in about 16 days!

DSC_0016

Repaired eggs

DSC_0012Since I was incubating anyway, I filled up all the leftover slots with Coturnix quail eggs from my own birds. These cute little guys sell out so fast I figured I might as well. It was nice to see that my own eggs were consistently larger than the ones I received in the mail. Must be doing something right!