Last year I incubated a dozen blue-green eggs I bought from the poultry swap. I had to turn them manually because my turner couldn’t accommodate both quail and chicken egg sized racks at the same time (boo!). Only three hatched, two were roos, and I was left with a single Ameraucana hen who is now the White Chicken.
This time we are doing things properly and using the egg turner. Somehow, I have coordinated three types of fertile eggs for this hatch, and we have a completely full tray of 42 eggs.
First I have black Old English Game bantams which are the small white eggs. There are ten of these and they were from the same person who I got Tiny Chicken from. They were free, but there will be trades happening in return for them later on. Considering the size of the birds these eggs came from, they’re pretty big! We all know how much I love Tiny Chicken and I wouldn’t mind a couple more like her. She is small enough to be allowed to free range without damaging plants, and she has an awesome personality.
Then we have the light brown eggs, which are from a mixed flock of Cochin and Light Brahma that I met at the farm I was getting my new Standard Rex breeders from. They were $10 per dozen and I’m only setting 20 of them because of space constraints. They are a beautiful mix of colors and should be interesting birds. Cochins are the large breed from China that spurred “Hen Fever”, the chicken fad that swept across America and Britain in the 1850’s, inspired by Queen Victoria’s own aviaries.
The gorgeous dark brown eggs in the middle are Welsummer or Welsumer eggs. They were purchased from a nearby breeder and cost $30 per dozen. Yes I know. The eggs are rather small and from young birds, so that may be an issue. When I was picking them up the seller also mentioned that her birds are quite small, and I’m not sure if that’s standard for the breed. The Welsummers that I had last year seemed around the same size as my other large fowl, so we’ll see how it turns out. I do like those dark brown eggs!
Of course, there’s no way I can keep all these chickens. My plan is to sell or trade off almost all of them and only keep a few of the nicest hens to refresh my stock. The Welsummers can be sexed by color and I’m hoping to successfully feather sex the Cochins at hatch. The females should have longer wing and tail feathers than the males. This may work with the bantams too, I’m not sure. I’m also not sure what I’ll do with all the males. I’ll have to keep some for at least a little while to know if my feather-sexing technique has worked. Nobody will want to buy them, that’s for sure. And if they start to crow, they have to go.
I did try to find more Ameraucana hatching eggs, but the only person who responded to my ad was selling them for $40 per dozen. For that, I can buy a pair of ready to lay Ameraucana pullets at the poultry swap. No thanks.


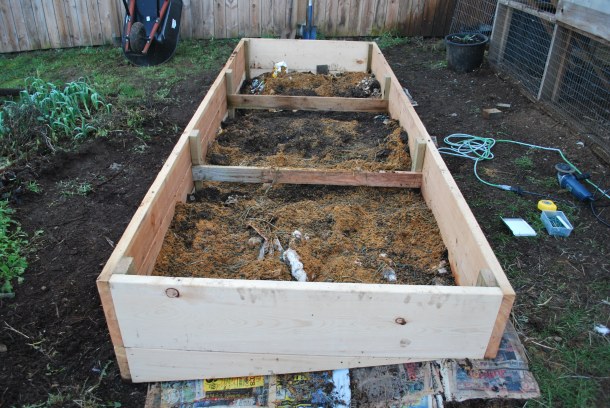


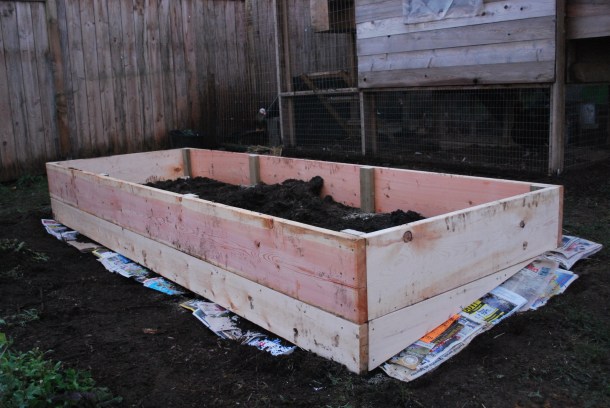
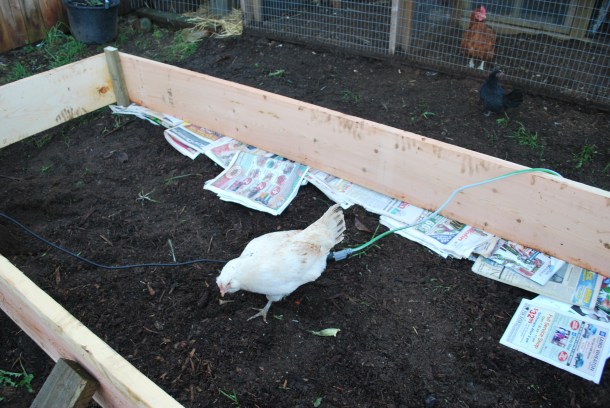
 Technically it hasn’t taken me two full days to get this far along, I’ve only worked a total of about 6 hours and that includes driving to pick up materials. I need more daylight hours!


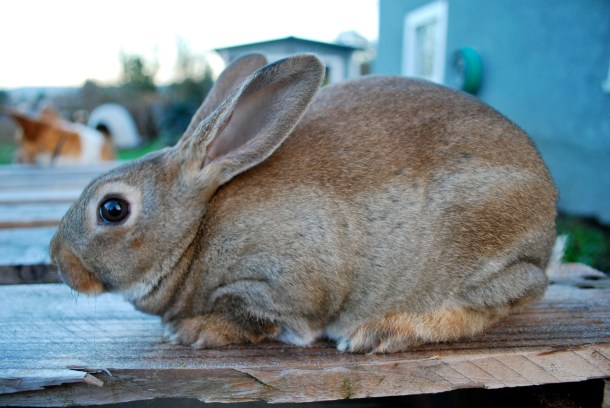
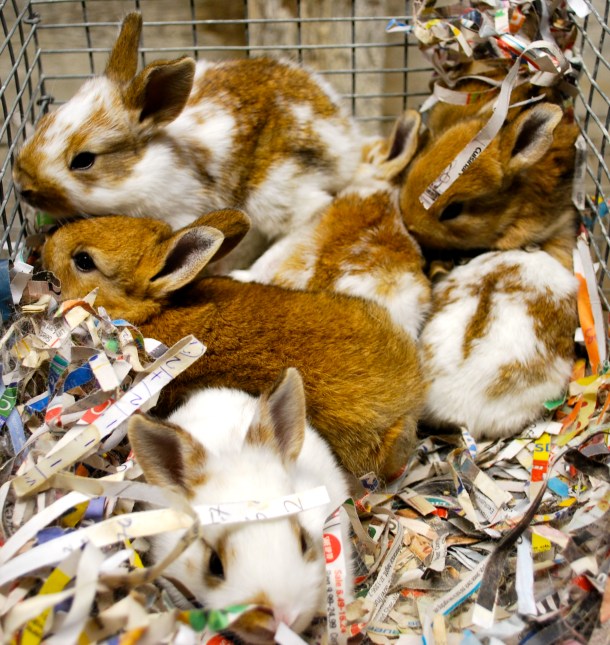
 I love this little batch of buns. Half are golden agouti colored, and half of them are brokens. They have a lot more white in their coats than the pure Rex litters and I think that makes them extra cute looking. Wouldn’t you agree?
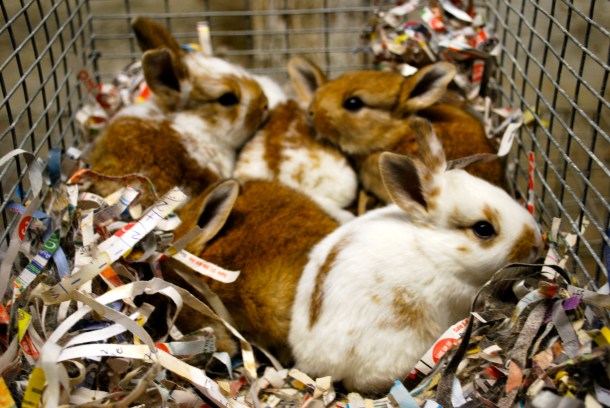